Web app – Setup

You can create a web app to easily communicate with your attendees. It's a perfect way to distribute information before, under and after your event. You can add your agenda, practical information, speakers and so on.
Our web app is a powerful tool with a lot of flexibility. It's possible to add more features like quiz, group work, questions from the audience, photo gallery, map and weather forecast. Please contact our support or one of our experts.
Create a web app
Open your event in Oiiku and click on "App" in the top menu. If you don't have the choice, please contact support to get access.

Add content to your web app
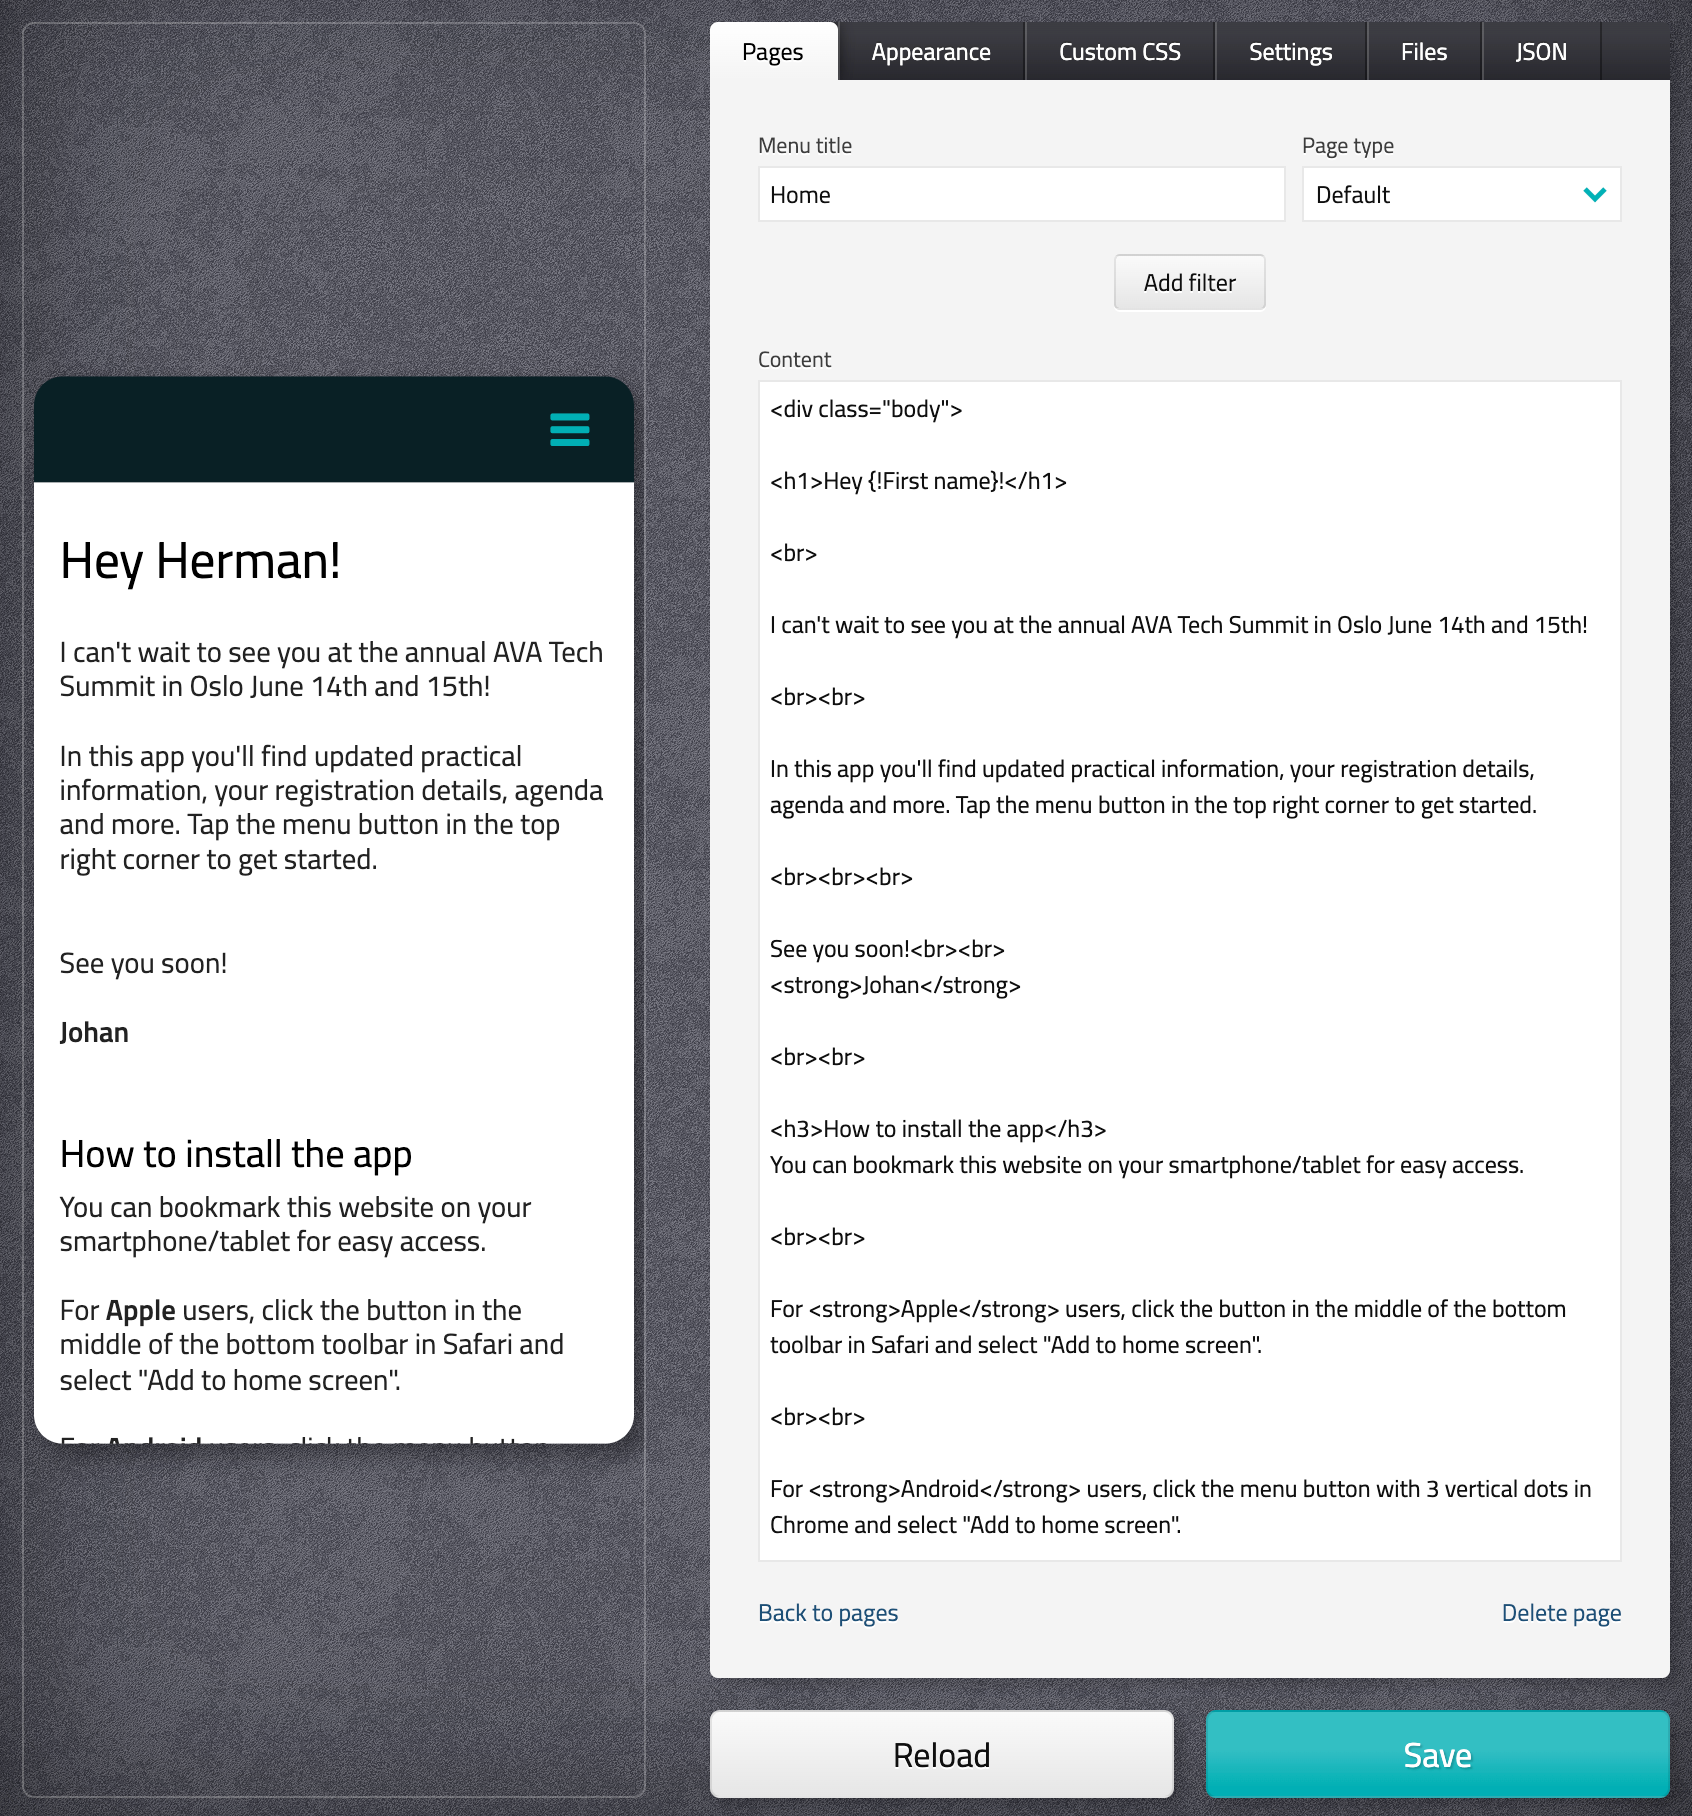
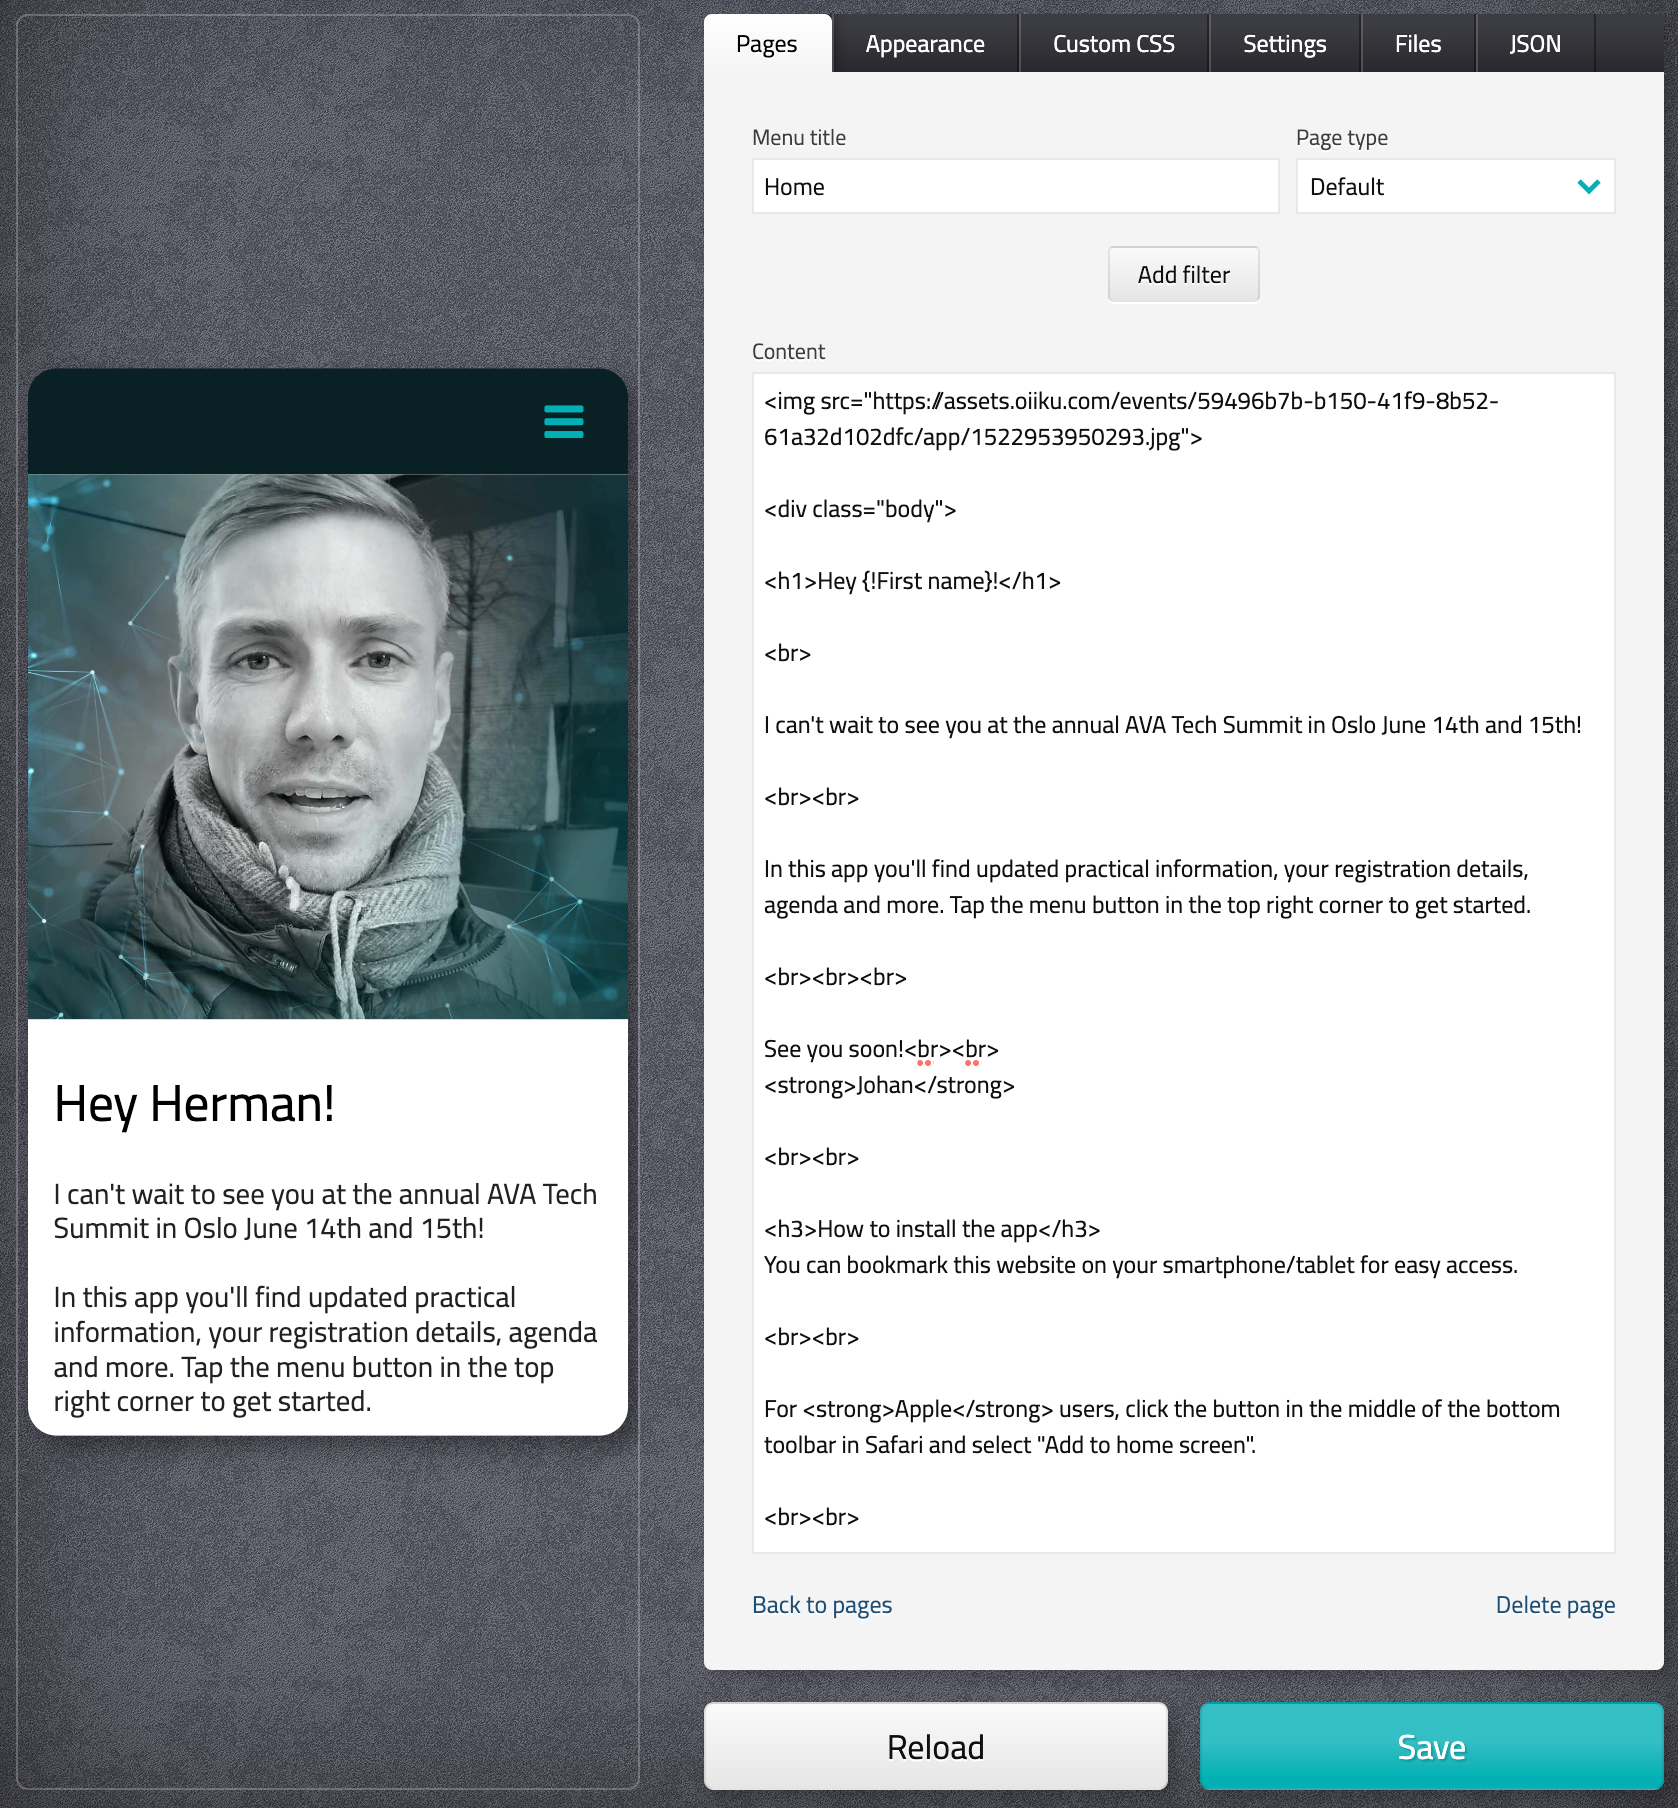
Click on "Add page" in the right menu. Select the new page you added. Give the new page a suitable name like "Home" for the first page. Add your content and click save when you are finish. A preview will be shown on the left side after you have saved.
You can merge attendee data in to the web app:
Add data like first name or accommodation to personalize the app. Every field in Oiiku are accessible. Ex. {!First name} will merge in the first name of the attendee.
You can style your text with HTML by using elements like:
<h1>Here goes your heading</h1>
<strong>This text the will be bold</strong>
<br>Make a line break
Remember to always start with <div class="body"> on the top and finish with </div> at the bottom. For more information about styling elements in HTML, click here.
Code example:
<div class="body">
<h1>Hey {!First name}!</h1>
<br>
I can't wait to see you at the annual AVA Tech Summit in Oslo June 14th and 15th!
<br><br>
In this app you'll find updated practical information, your registration details, agenda and more. Tap the menu button in the top right corner to get started.
<br><br><br>
See you soon!<br><br>
<strong>Johan</strong>
</div>
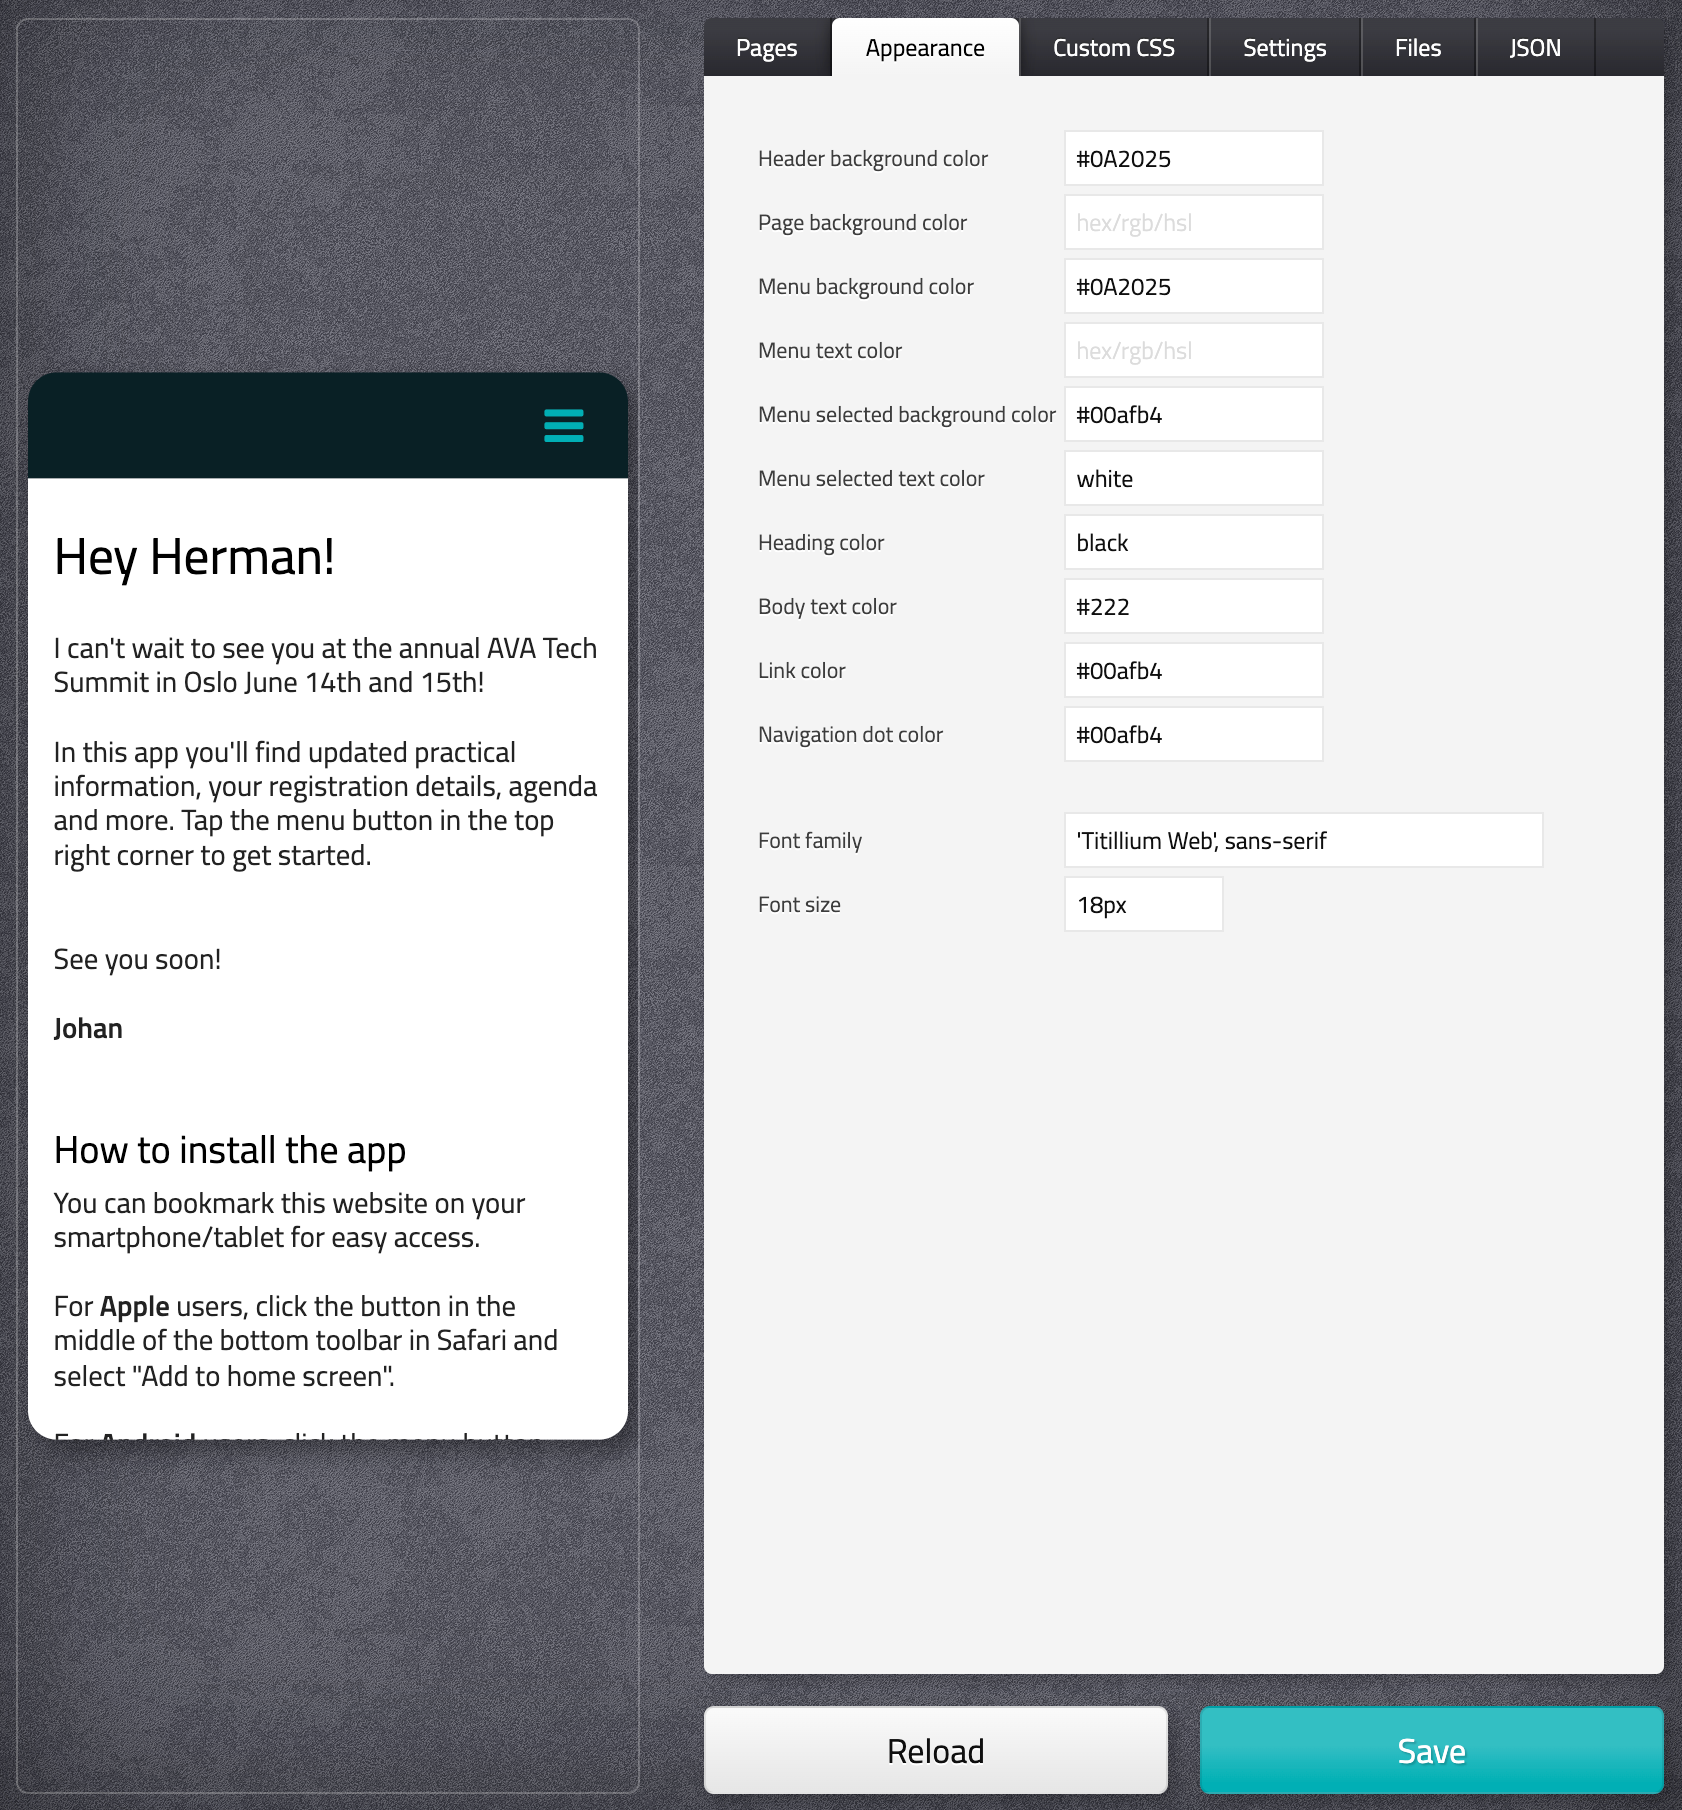
Style the web app
Click on "Appearance" in the right menu and start styling your app. Remember to click save before you go to any other page.
Header background color = Color of the header where the menu button is placed
Page background color= Background color of the web app
Menu background color = Background color of the expanded menu
Menu text color = Color on the text in the menu
Menu selected background color = Background color on the selected element in the menu
Menu selected text color = Text color on the selected element in the menu
Heading color = Text color on heading elements (H1, H2, H3,..)
Body text color= Text color in the app
Link color= Color on links
Navigation dot = Color on navigation dot at the bottom of the app
Font family = Your font choice, use Web fonts or Google fonts.
Font size = Font size on body text
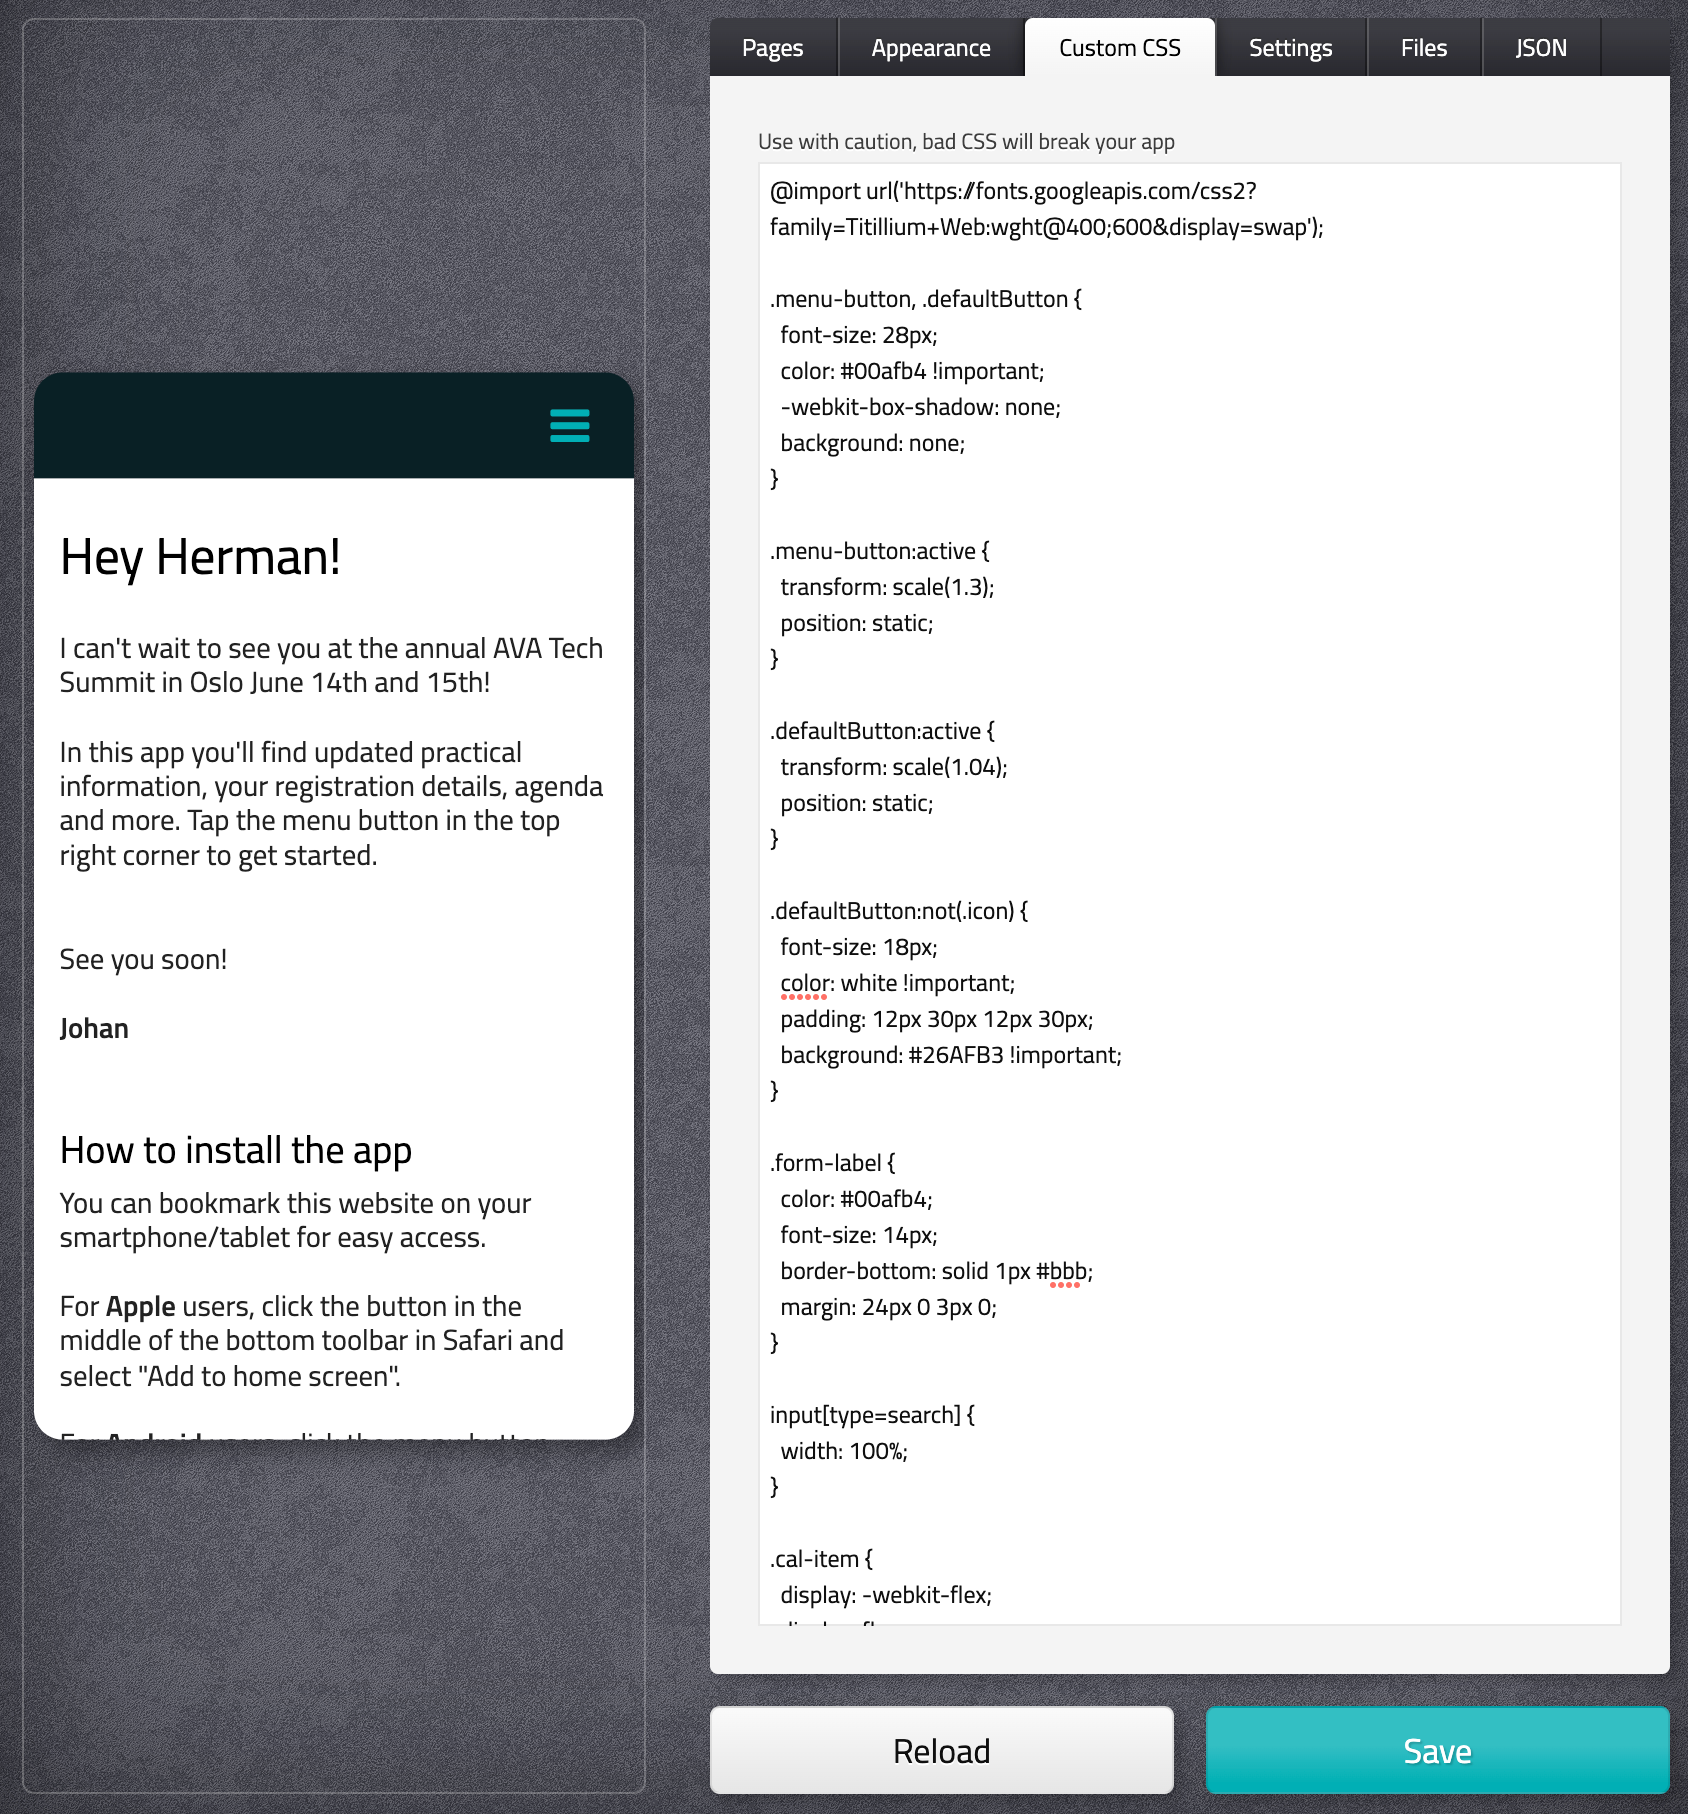
Style the web app
Here you can style your web app using custom CSS. For more information about setting colors in CSS, please click here. Remember to click save before you go to any other page.
Custom CSS = Custom CSS styles, like styling of the menu button, paragraphs and more. Remember to import your Google font.
Give your web app a name, header and choose icon
Go to "Settings" and give your app a name. Application name will be displayed on the user's home screen.
Add a application icon, upload it to the file manager and copy the URL back to settings. Please see "Insert images, videos and upload files" below for more information.
Choose a header text that will be shown on the top of the app or upload a logo.

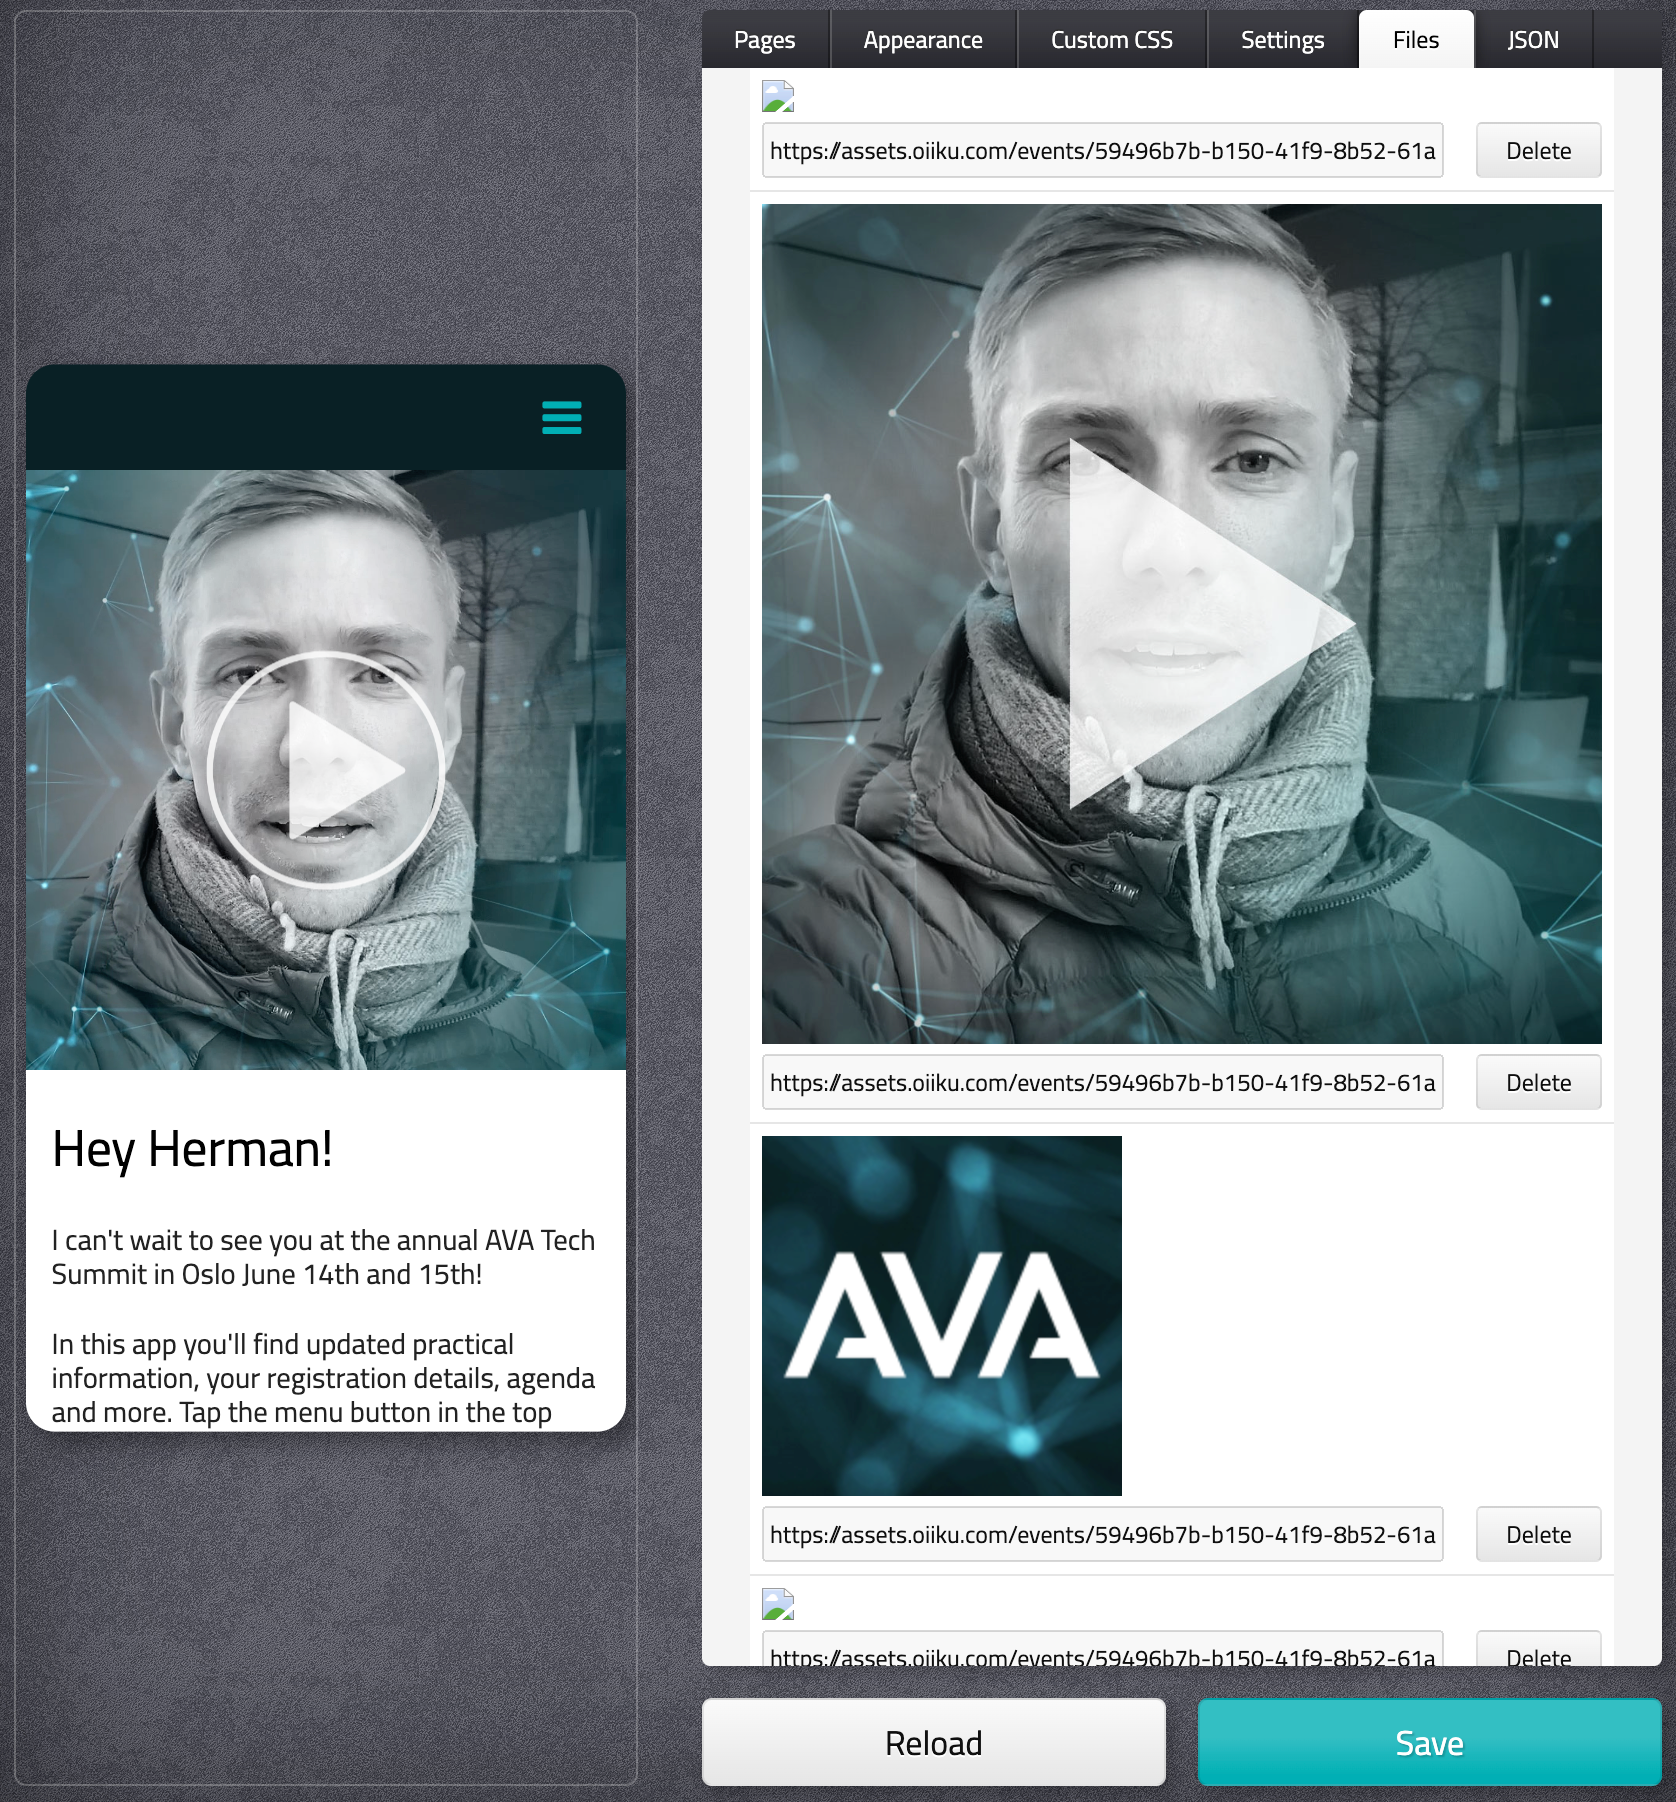
Insert images, videos and upload files
You can upload images, video and files to the web app. Go to "Files" click "Select file" and upload your file to the file manager. Click save when you are finish. Copy the URL of the file before you go back to "Pages".
Insert a image by using the following code:
<img src="Your image URL goes here">
Insert a video by using the following code:
<video autoplay controls width="100%">
<source src="Your video URL goes here" type="video/mp4">
Your browser does not support the video tag.</video>
Please remember to only upload video files that optimize for mobile use.
Insert a downloadable file like a PDF by using the following code:
<a href="Your file URL goes here" target="_blank">Your link text goes here</a>
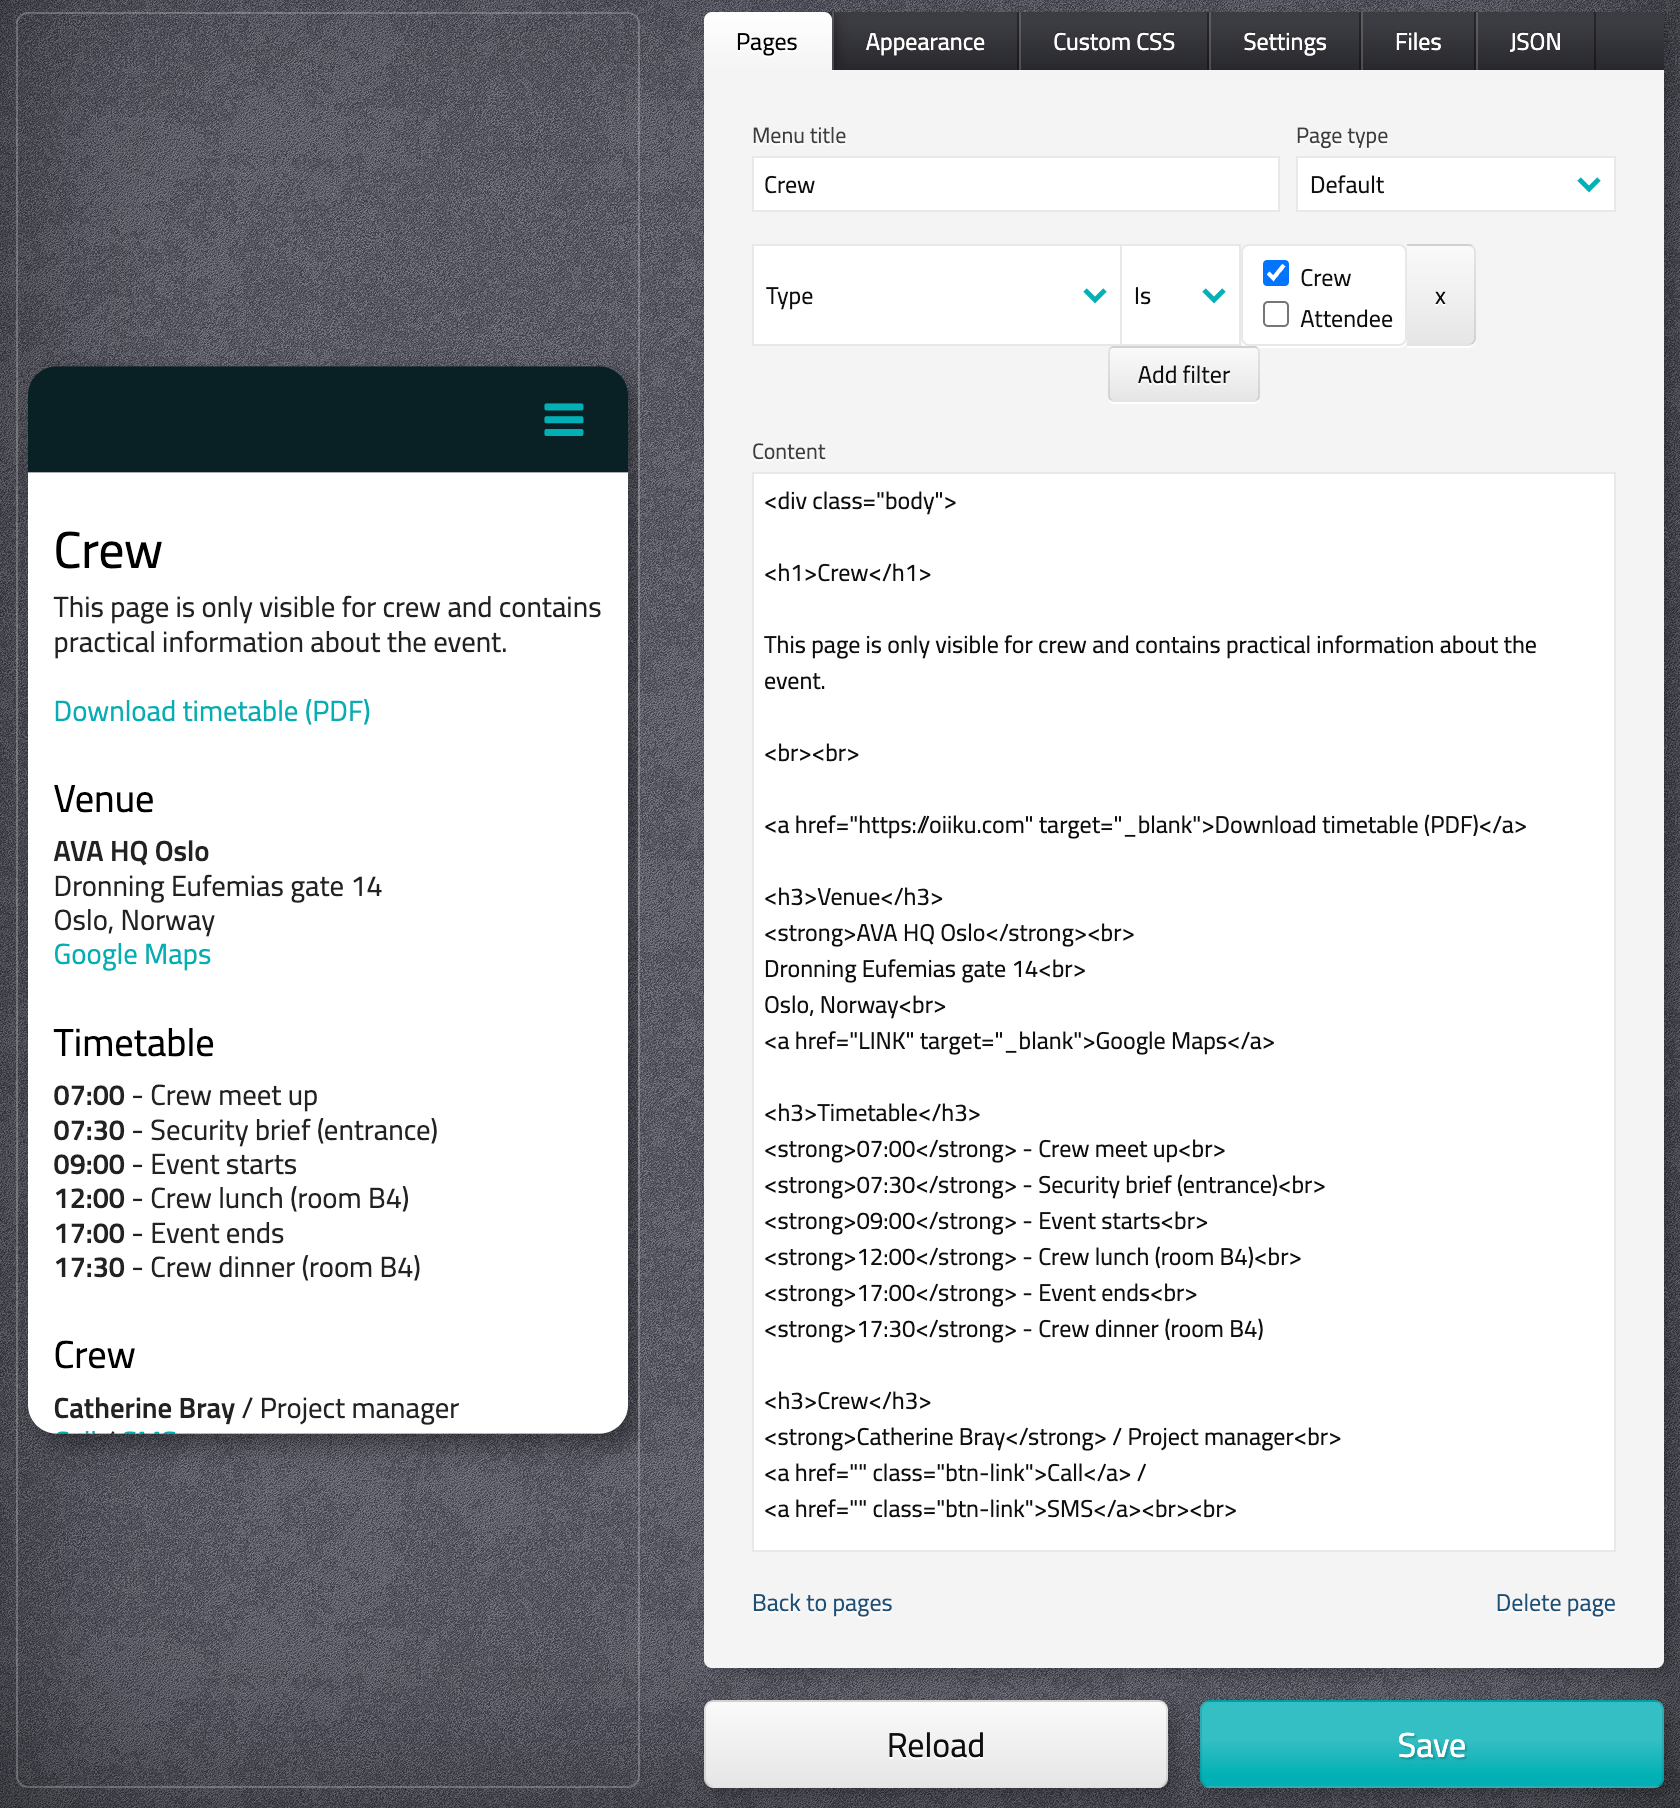
Restrict access to pages by using filters
You can restrict access to the different pages based on attendee data. This is useful if you only want to show certain information to a group of people. Ex. hide a page dedicated to your crew so no regular attendees will be able to see this information.
Click on the page you wan't to restrict access to. Click on "Add filter", choose a field in Oiiku and your desired value, ex. Type = Crew. The page will now only be seen by the ones who have the type field set to Crew.