Pages – Getting started

Introduction
Oiiku Pages
(Previously named Invitations)
You have to create an invitation page before attendees can sign up for your event. Before you continue, please remember to create a registration form you can assign to the page.
Create an invitation
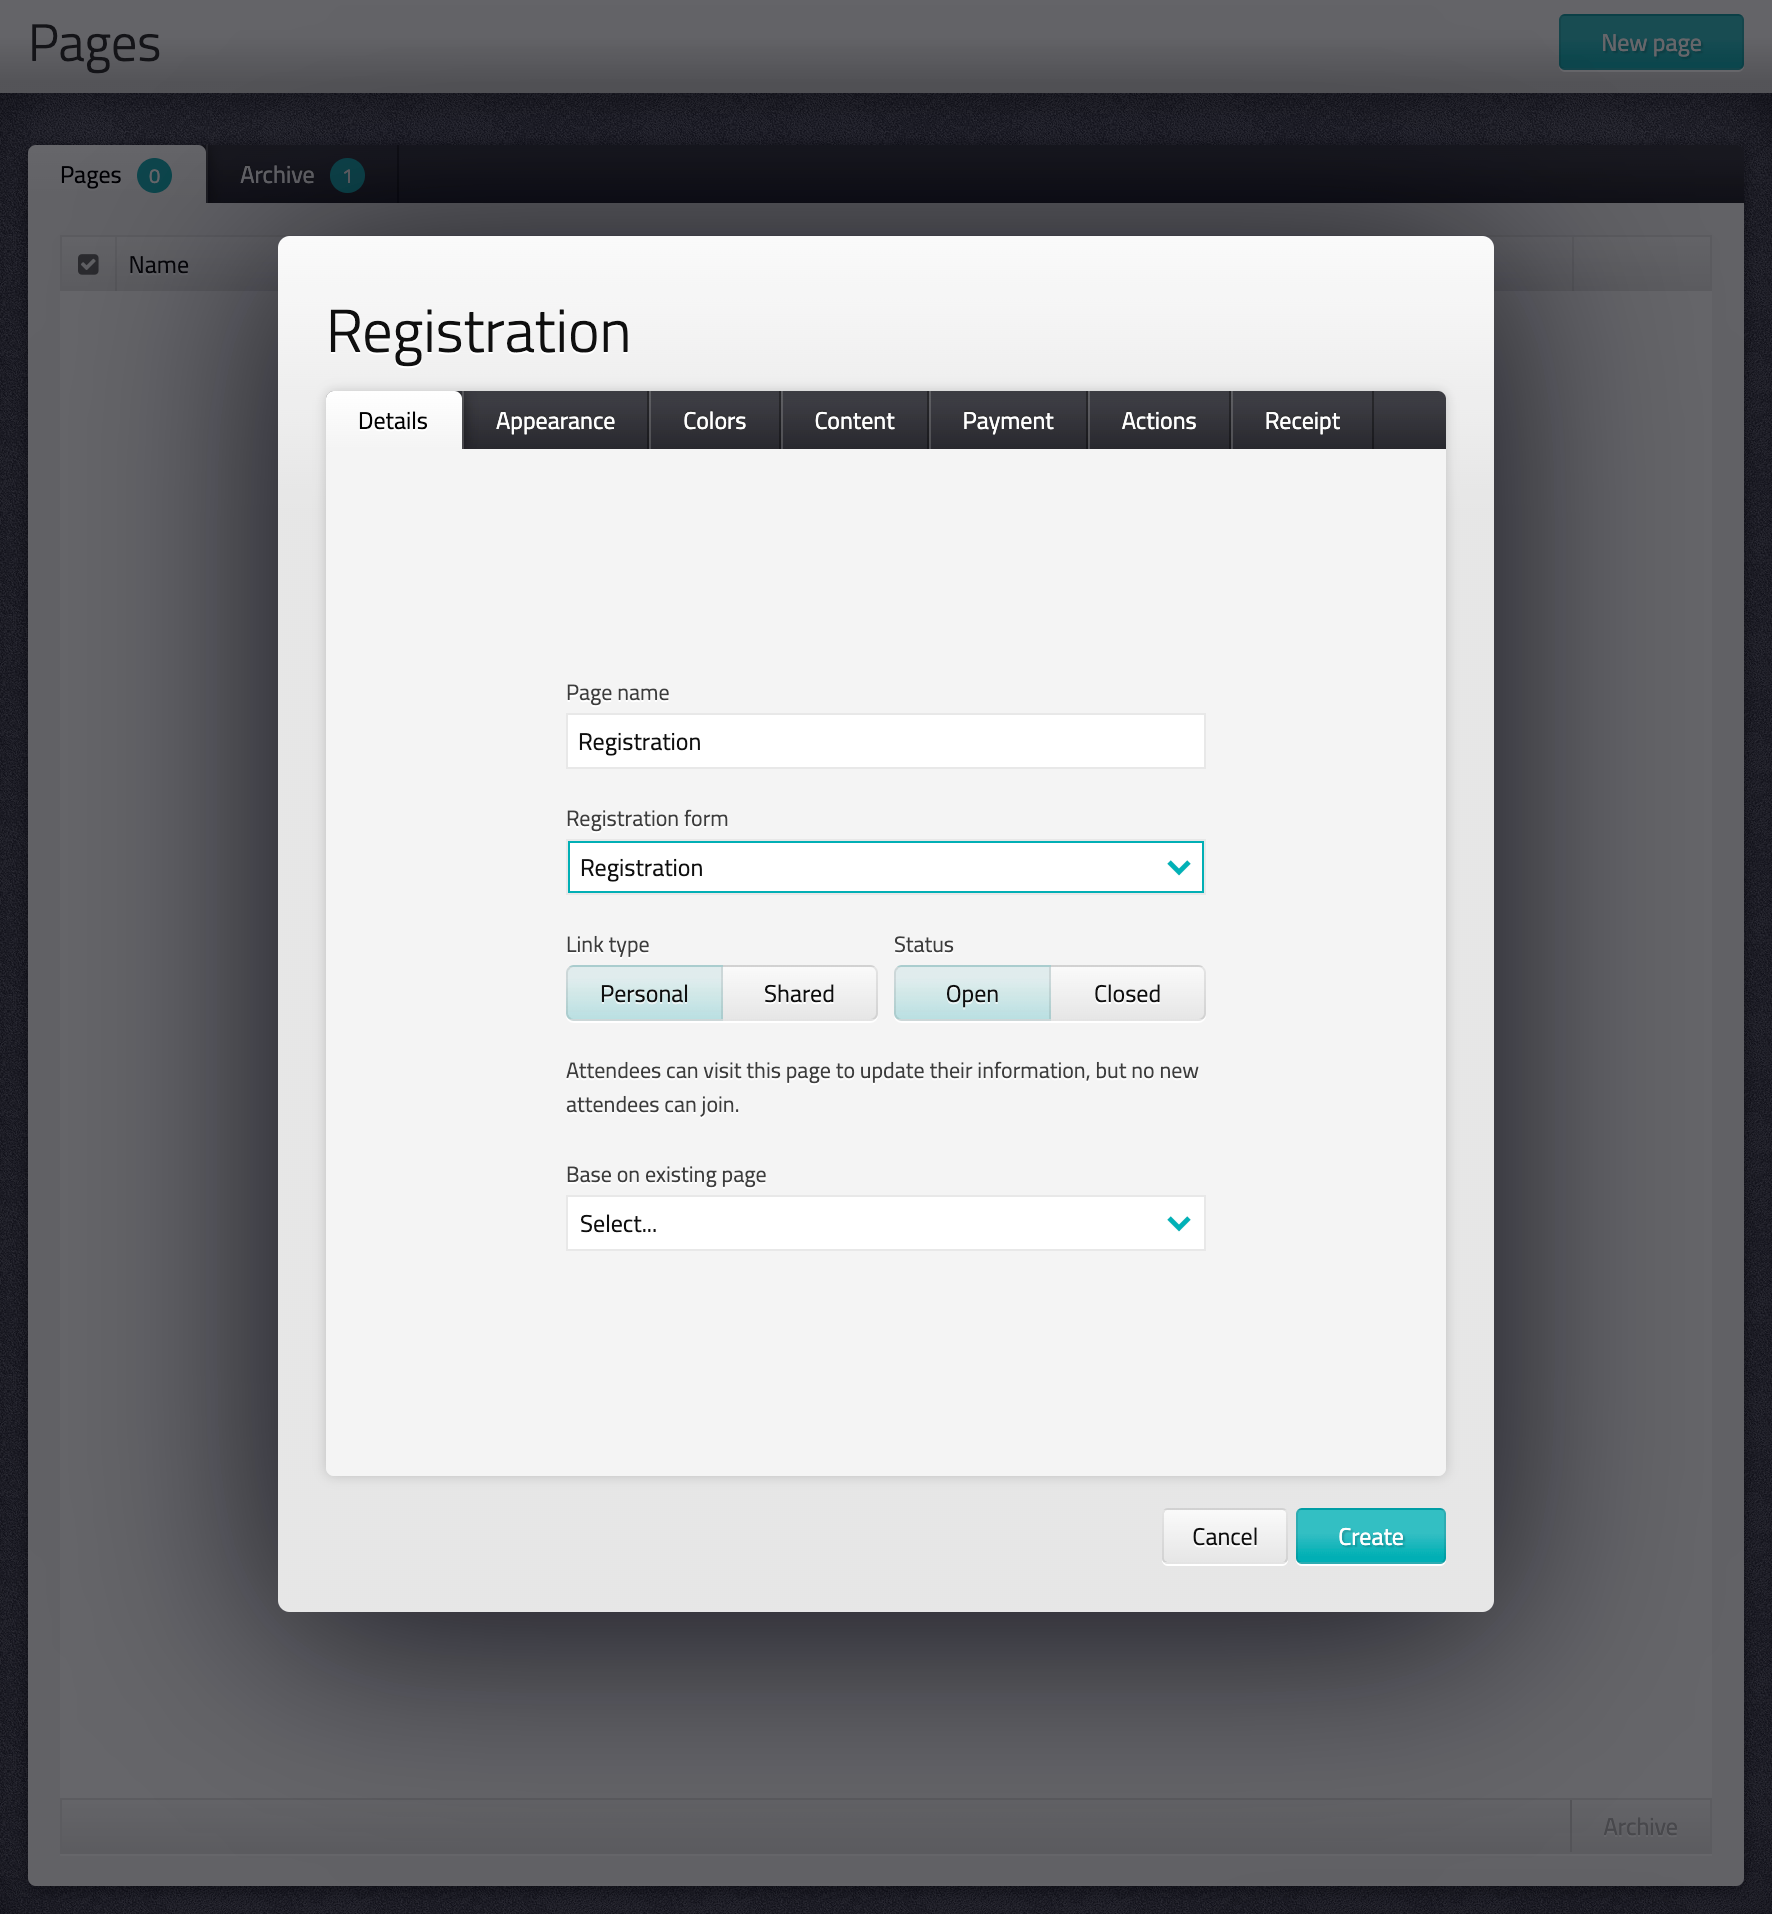
- Go to Pages and click on "New page" to get started
- In the Details tab, select a name and registration form
You can also select "No form" if you want to use the invitation as a landing page or "Button only" if you want the attendees to sign up without submitting any information. - Choose link type and status
Personal = Attendees can use the invitation to update their information, but no new attendees can join.
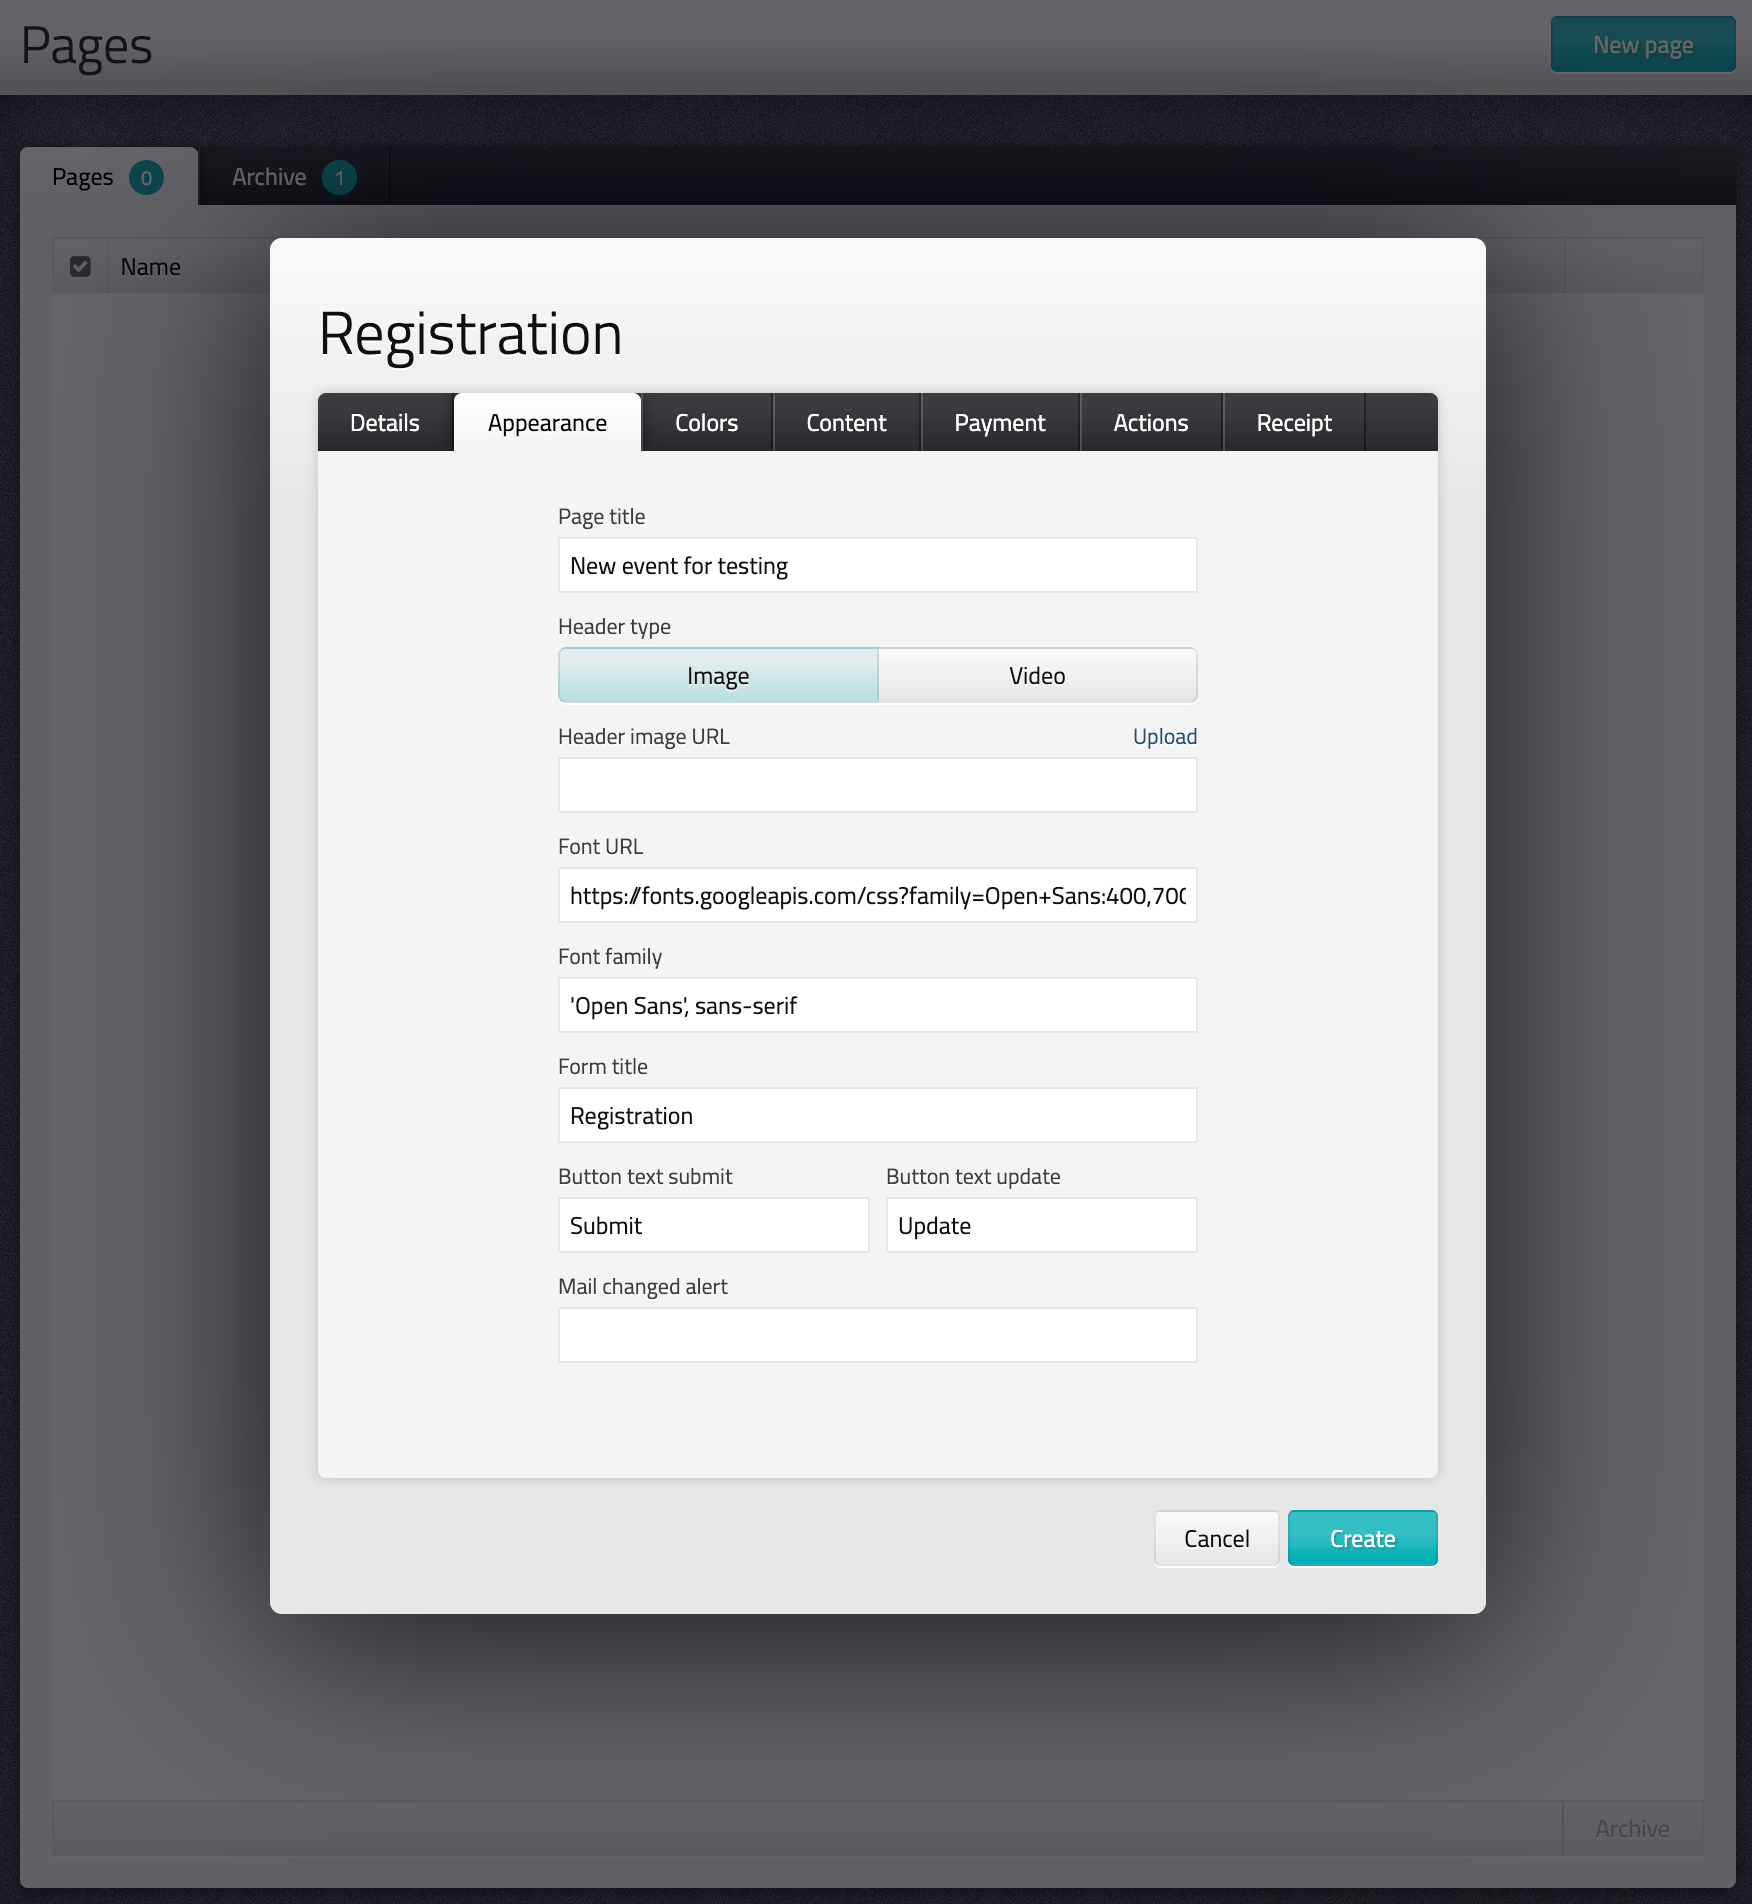
Shared = Anyone can use the invitation as long as they have the link - Go to Appearance, select title, header, font and text on the sign up button
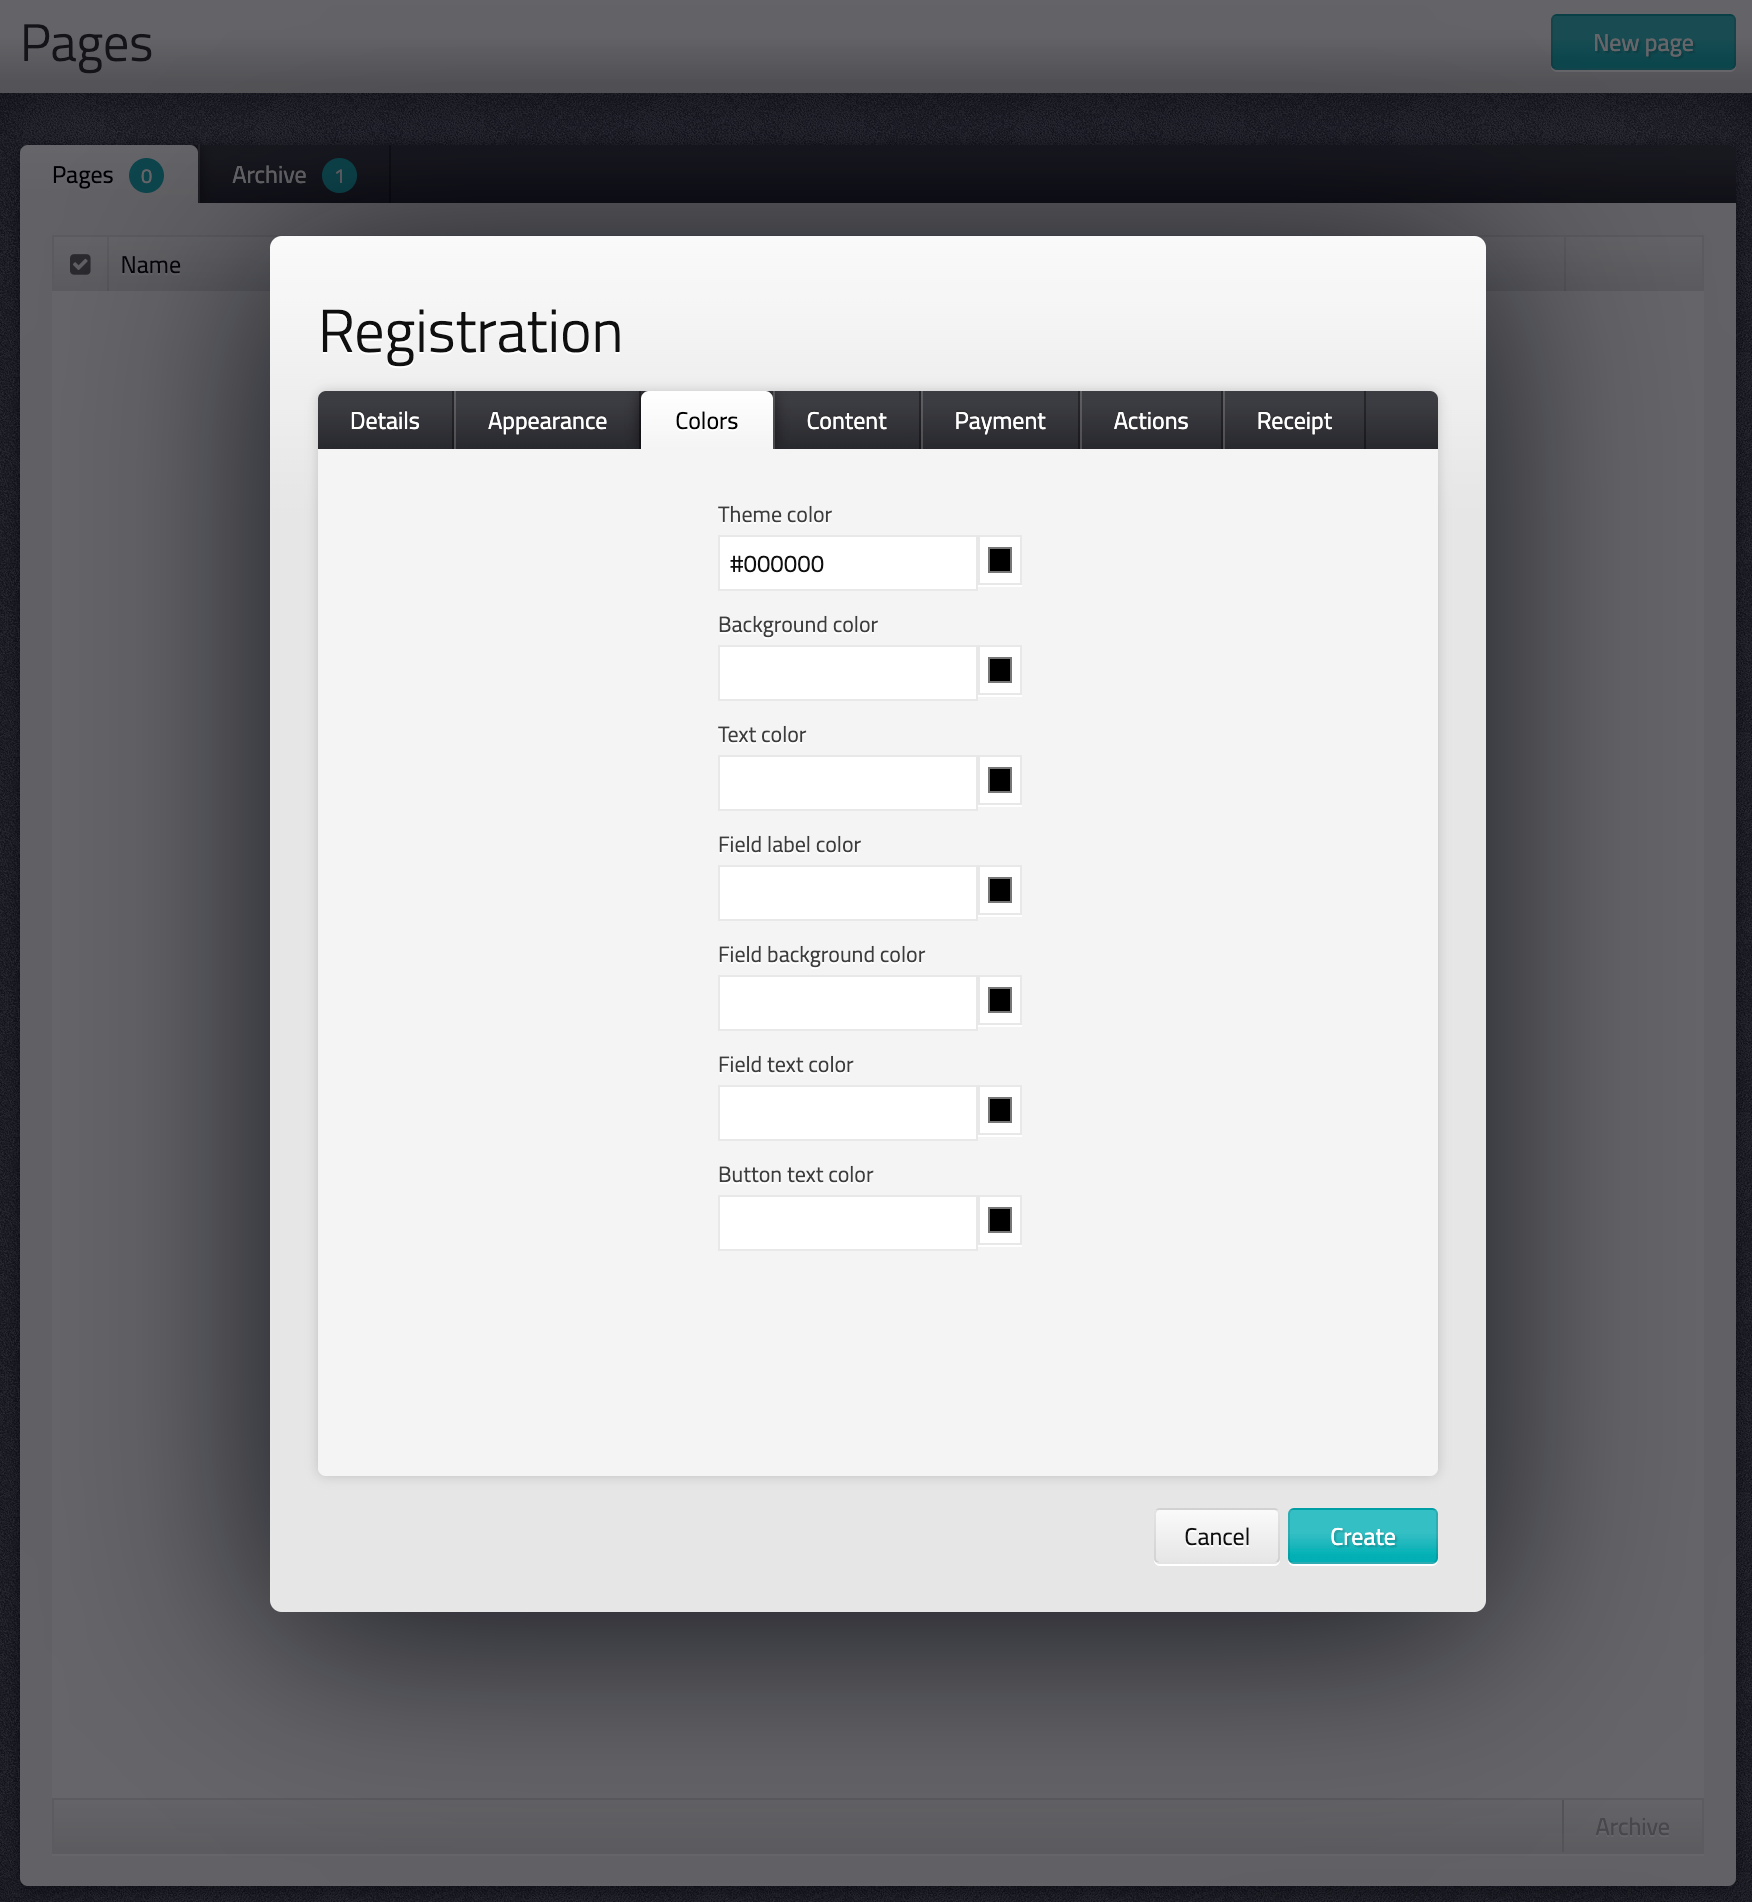
You can embed all Google fonts - Go to Color, select your preferred colors or let the fields be blank to use default colors on the invitation page
Theme color = Color on section titles (registration form) and sign up button
Background color = Color on the invitation page
Text color = Color on text and headings on the invitation page
Field label color = Color on field names (registration form)
Field background color = Background color on input fields (registration form)
Field text color = Text color on input fields (registration)
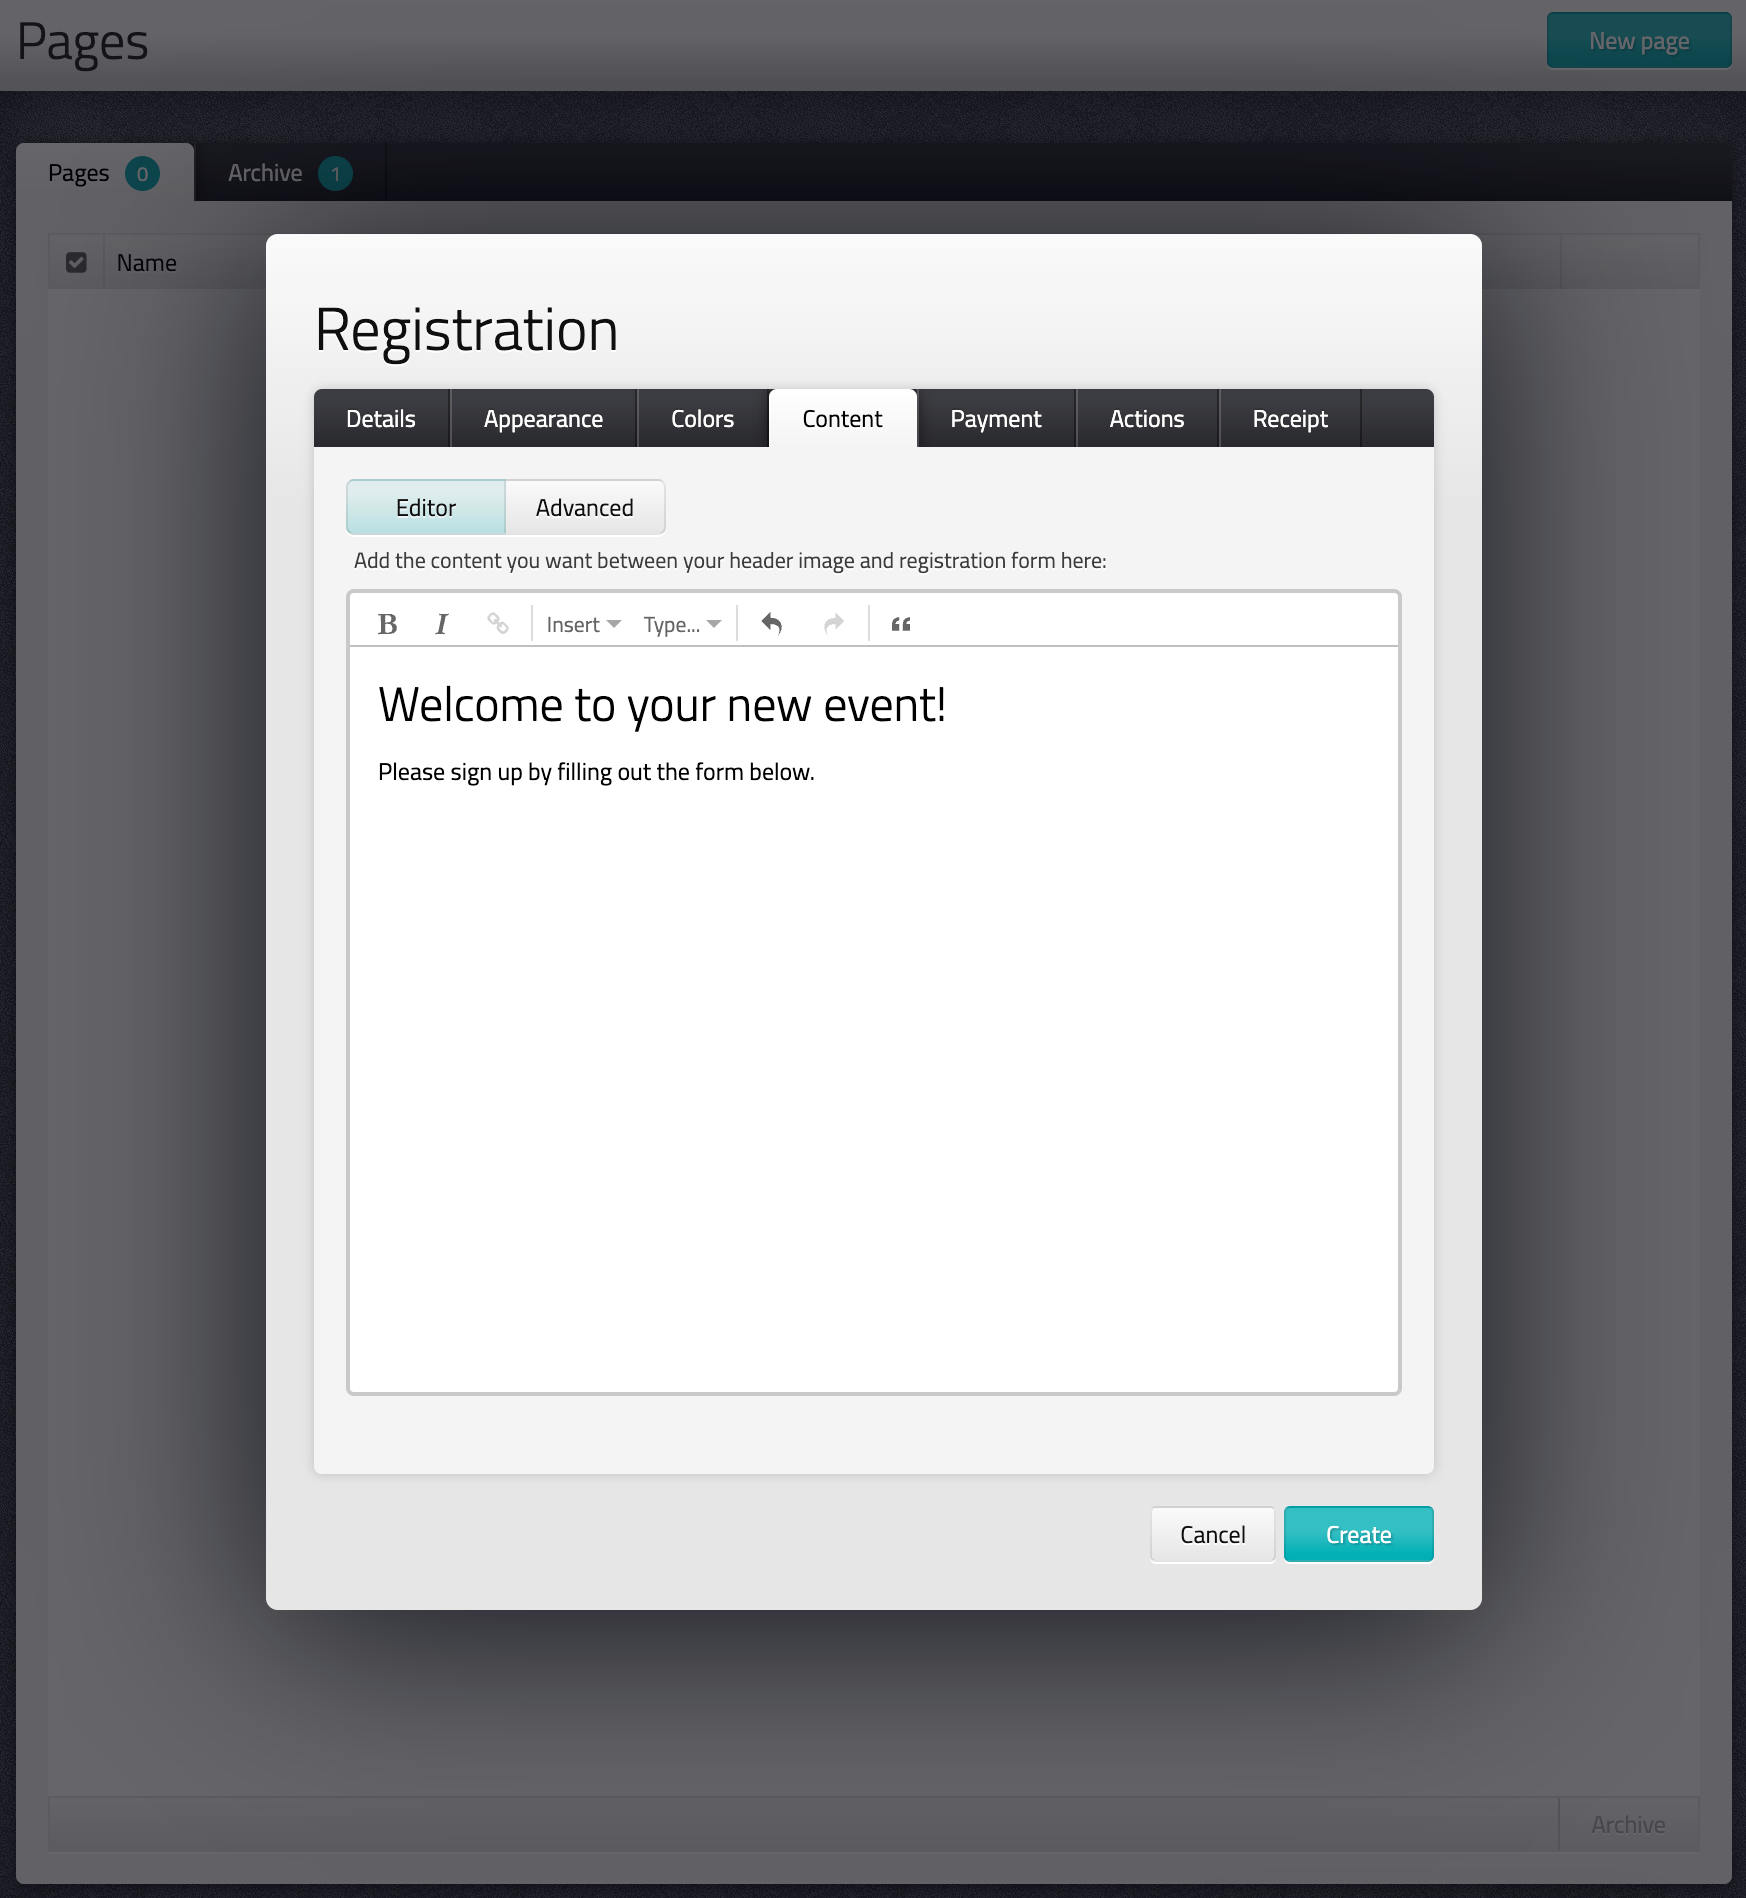
Button text color = Text color on sign up button - Go to Content, write your own text that will be displayed between your selected header and registration form
- Go to Payment if you want to charge a participation fee, please see Card payment for further instructions
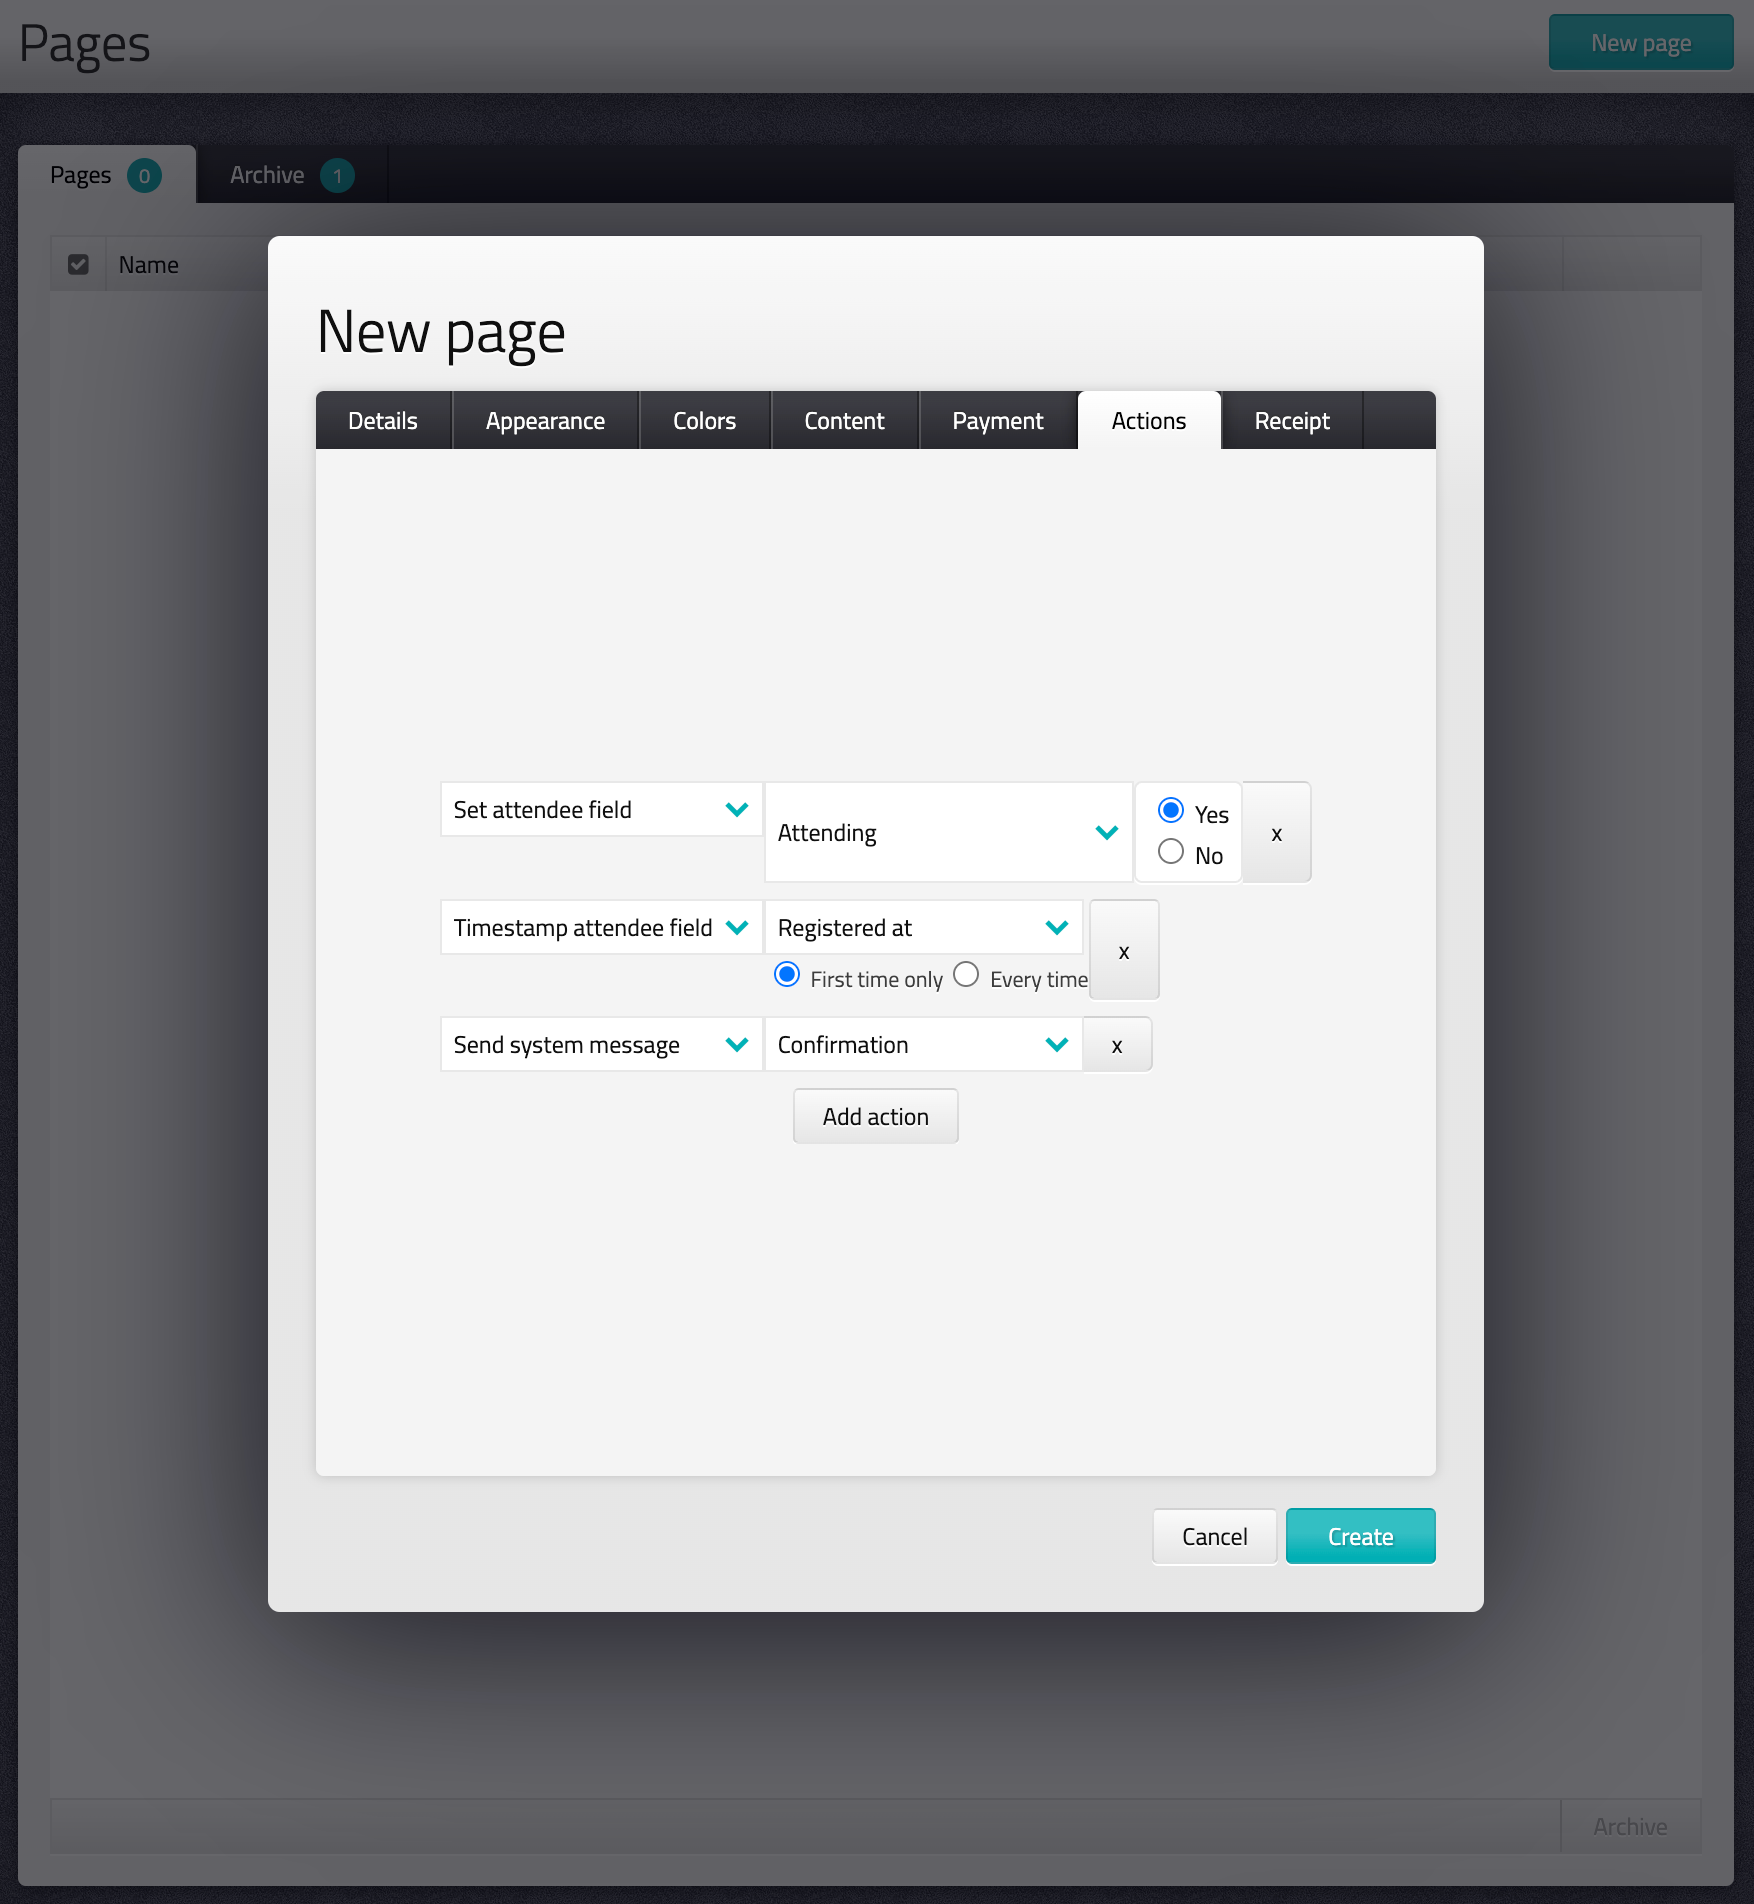
- Go to Actions, set actions that runs when an attendee signs up
Ex. changing attending field to yes, sending confirmation messages, timestamp registration etc - Go to Receipt, select the text you want to show when attendees completes their registration